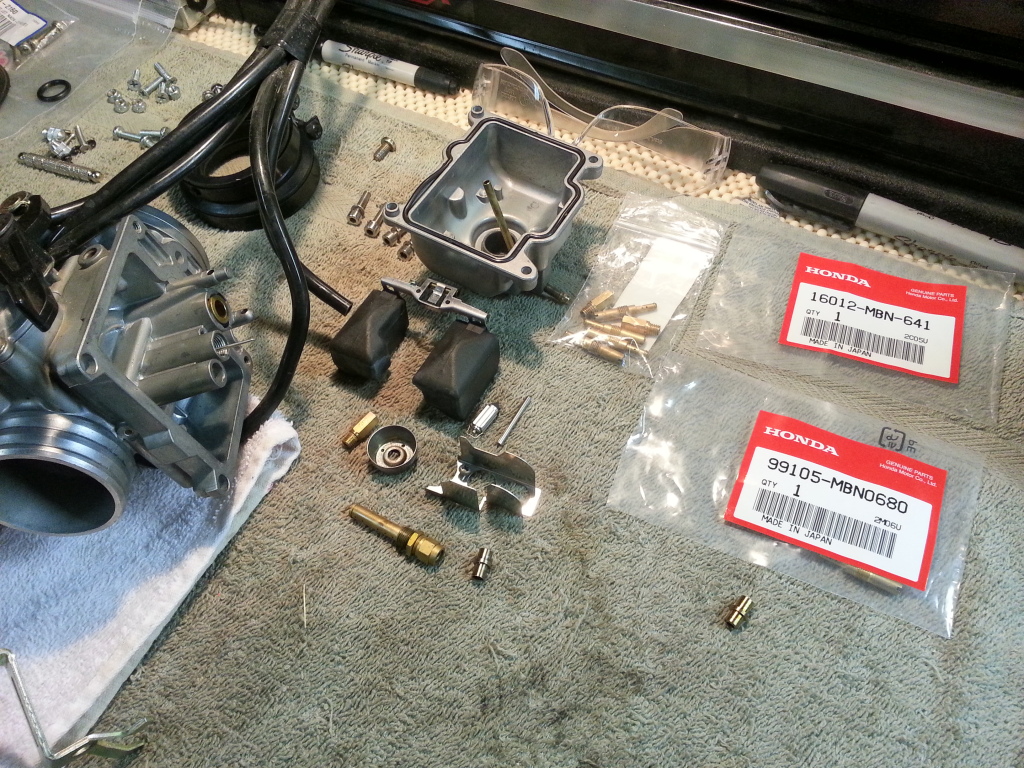
Optimal components.
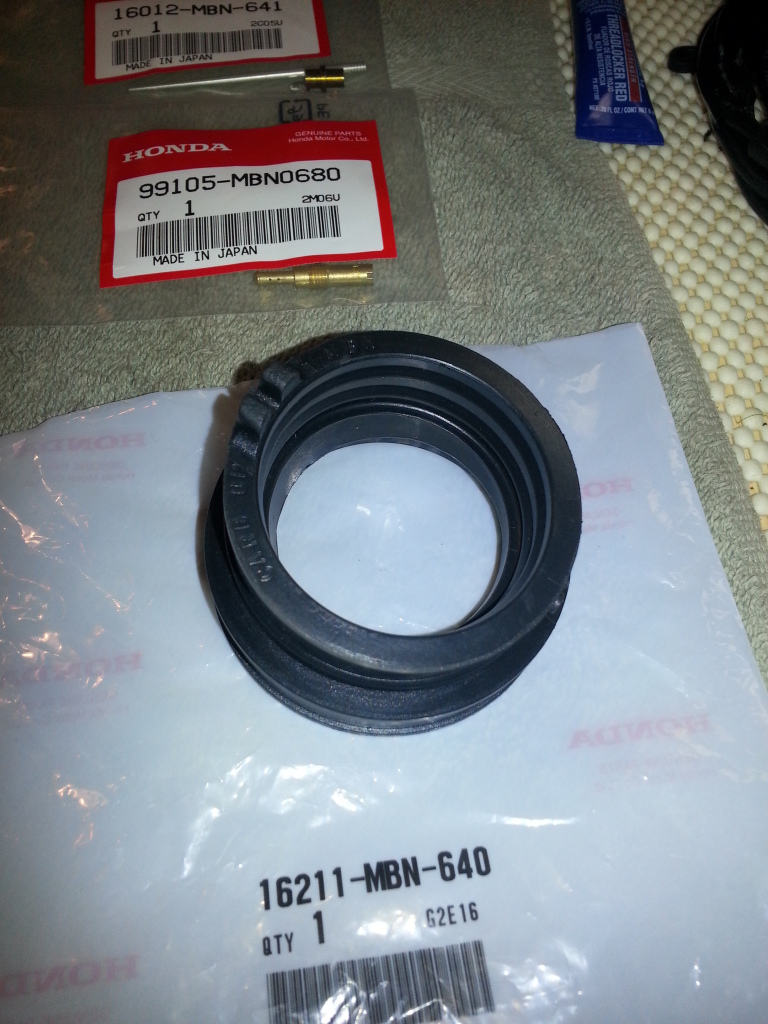
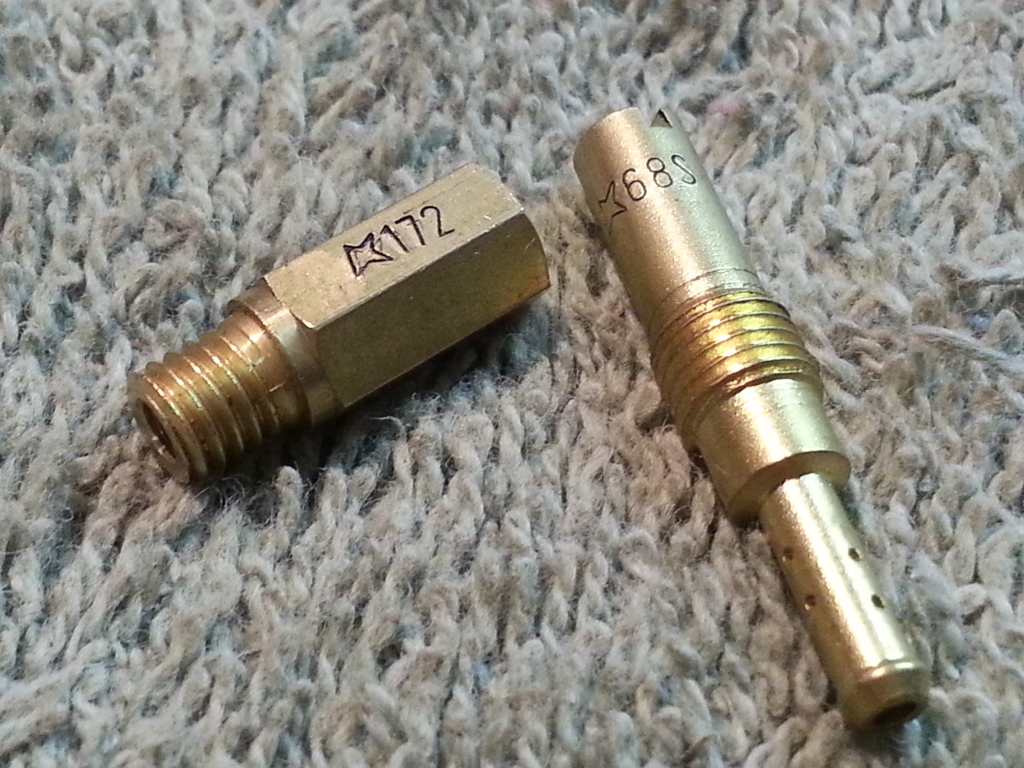
68S Pilot Jet Part Number: 99105-MBN0680
B53E Needle Part Number: 16012-MBN-641
Carb Isolator: 16211-MBN-640
172 Keihin Main Jet
Also as a reference here's the XR650R Jetting Guide
Jetting Guide Click Here
I've used everything from 160 to 175 Mains and 60 to 70 Pilots. Fought mechanicals; which by the way there's no point in jetting if you're carb is leaking out of the mix screw. Make sure everything is in order. Replace EVERY o-ring on the carb and ensure its assembled correctly before you start playing with your jets. FYI Mix Screw, Spring, Washer, O-Ring and in that order. When I bought my bike I had no idea the washer was out of place and the O-ring was being eaten alive by the spring...
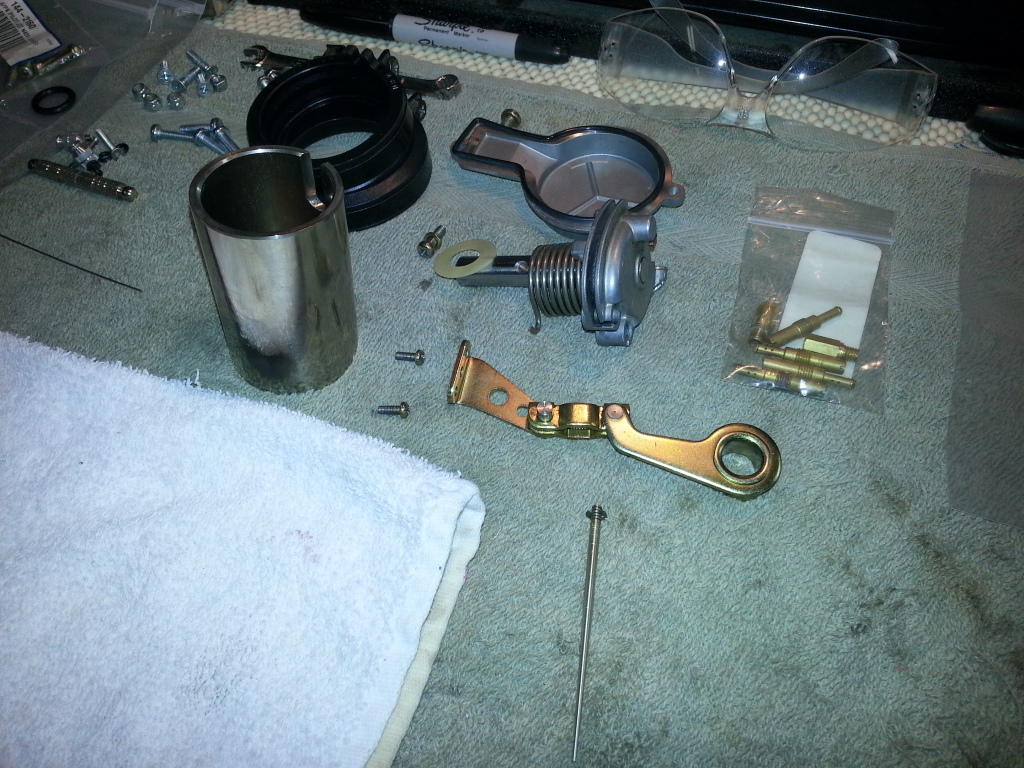
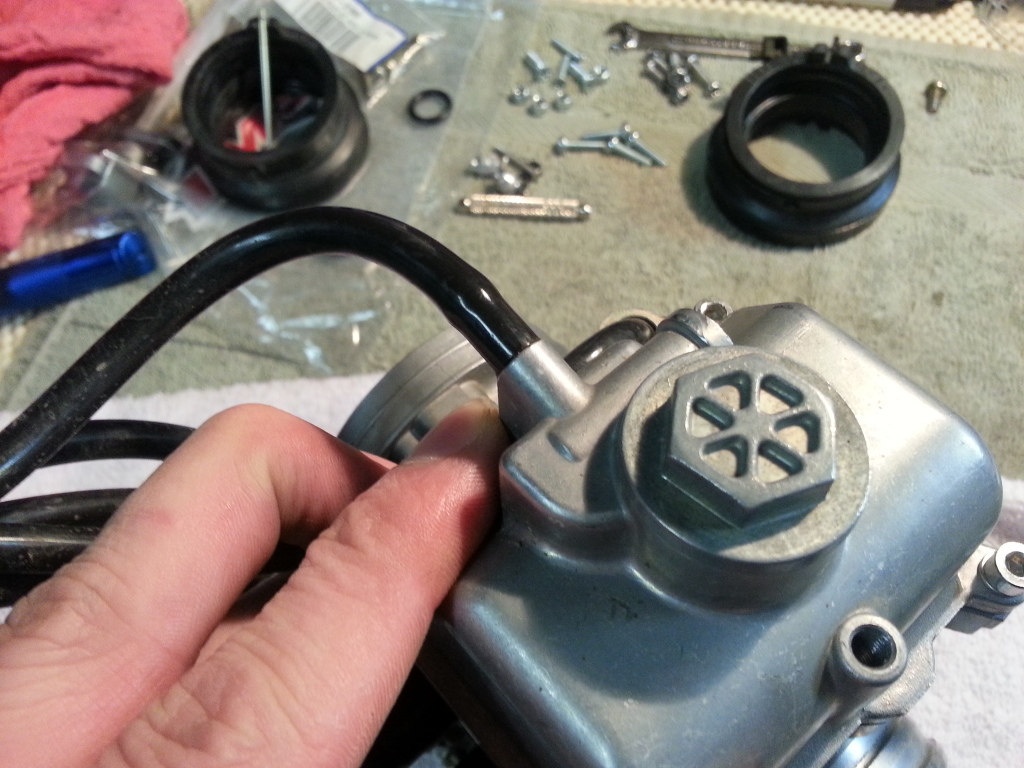
Step-1
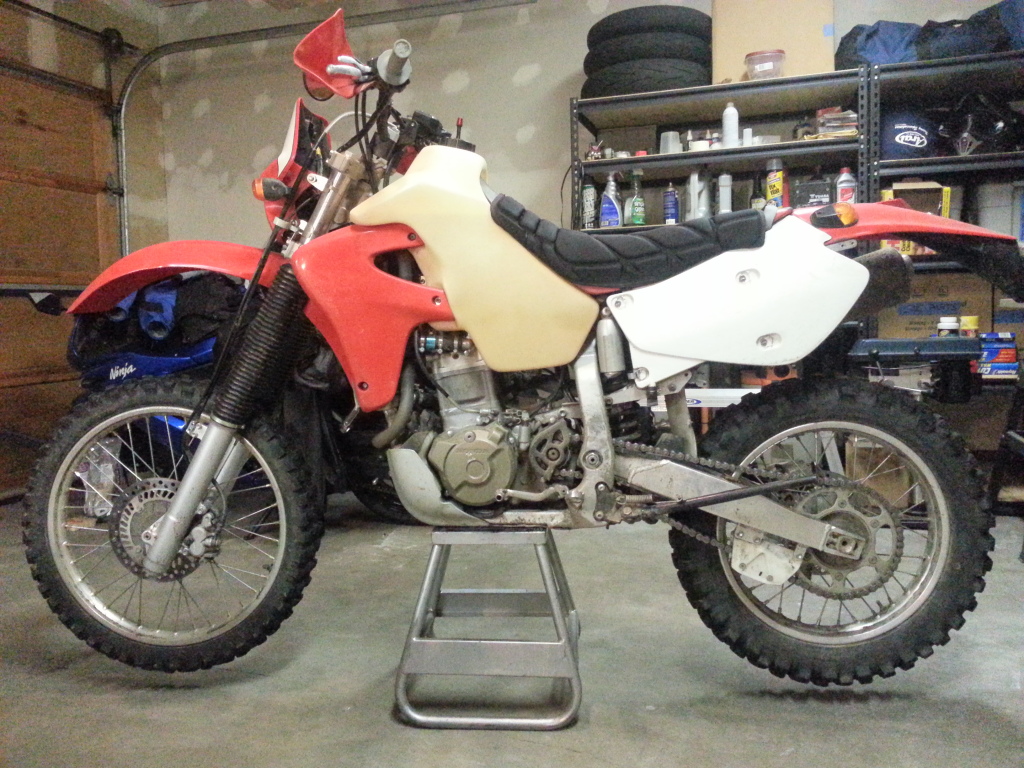
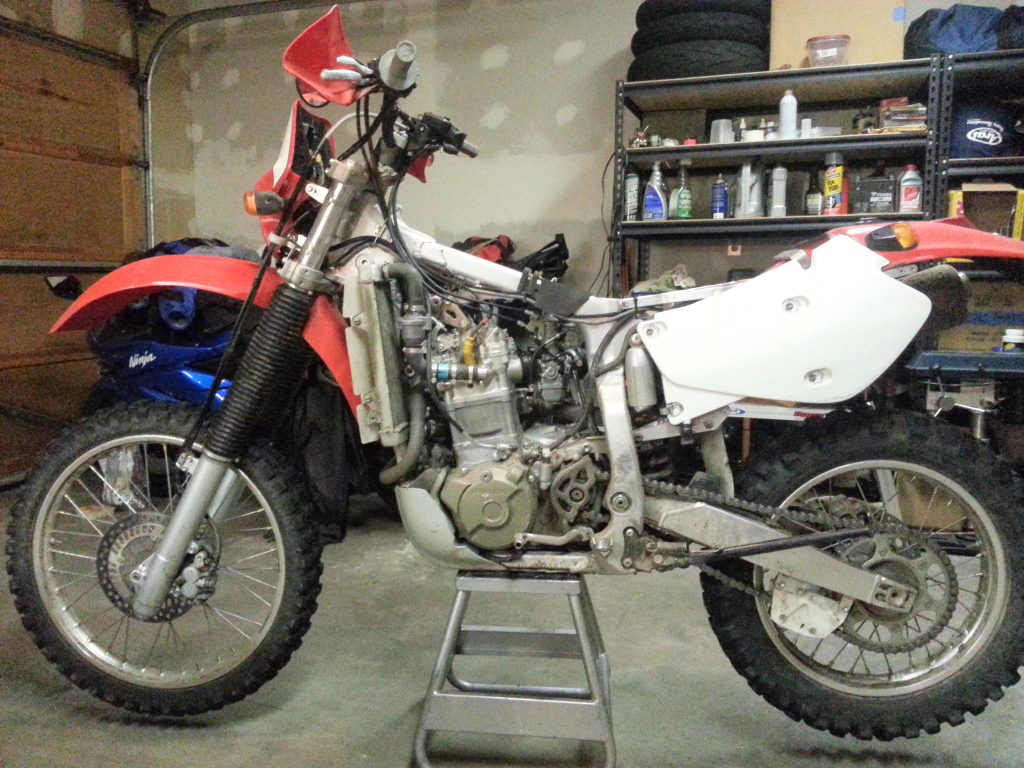
I'm going to assume you have the mechanical aptitude to take the tank, shrouds and seat off without me going into explicit detail. If you're struggling already, STOP before you hurt something. I like to turn the petcock off and run my bike until it dies. The point of this isn't so much to drain the fuel which I recommend you do but to warm up the rubber manifold so removal is a bit easier. You can just open the bowl drain and muscle the carb off it really doesn't matter. Just get everything away from the carb.
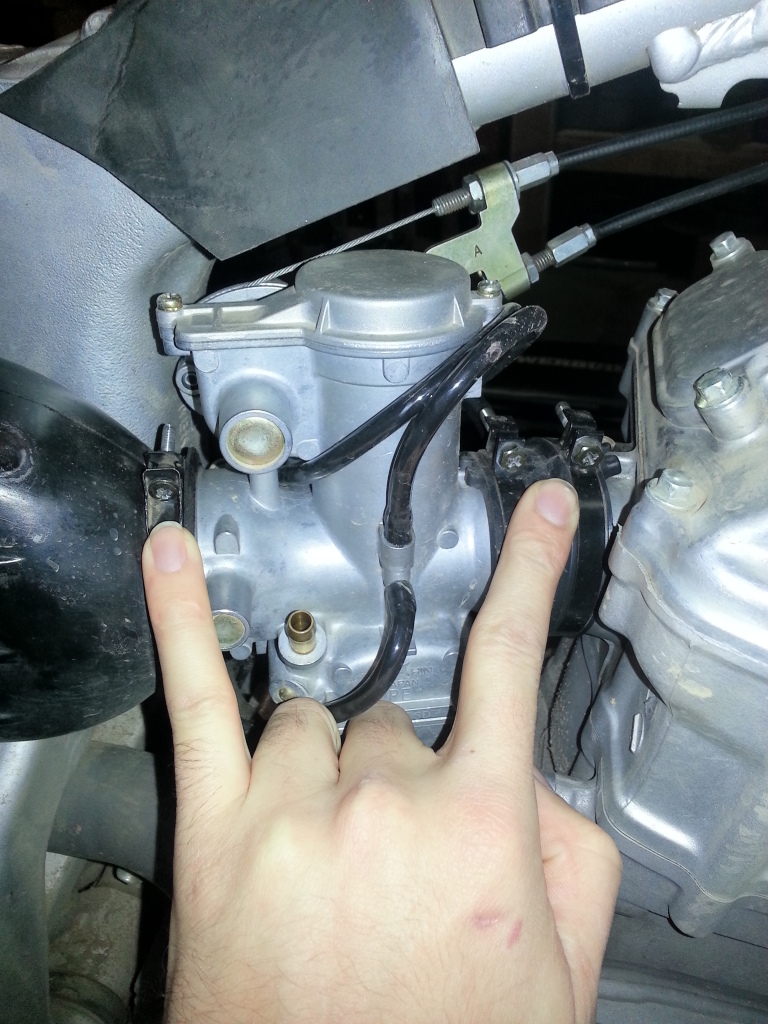
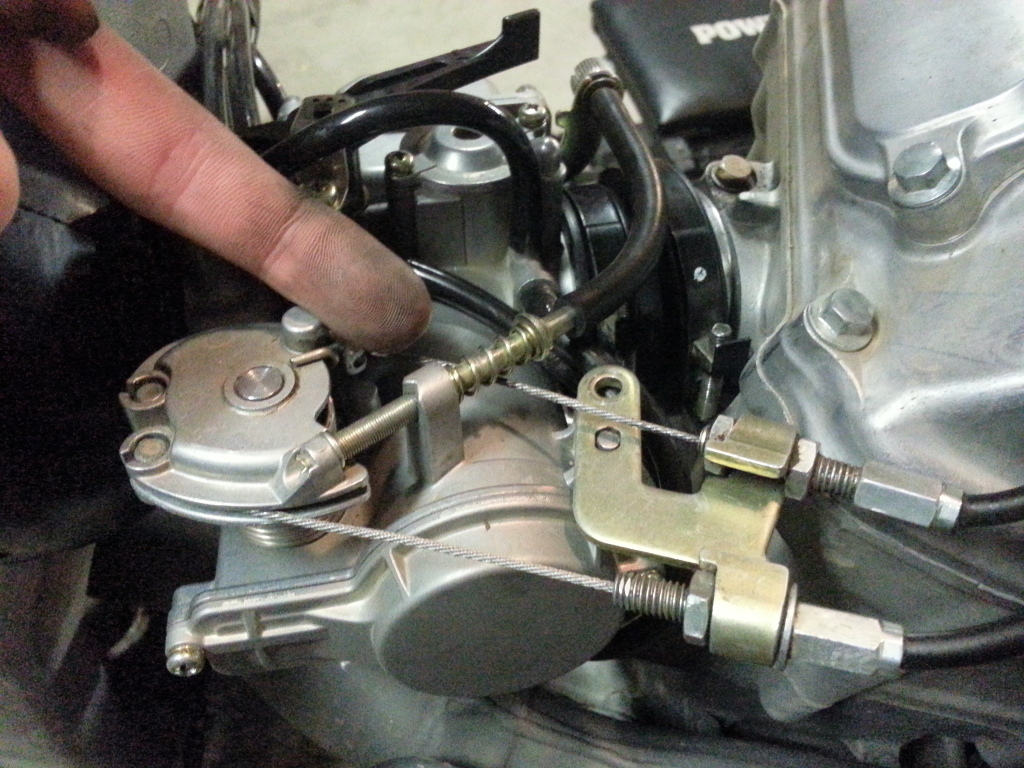
Step-2
Here's a little tip. Simply remove the screw holding the throttle cable bracket and DO NOT touch the cable adjusters. That'll save you same time later.

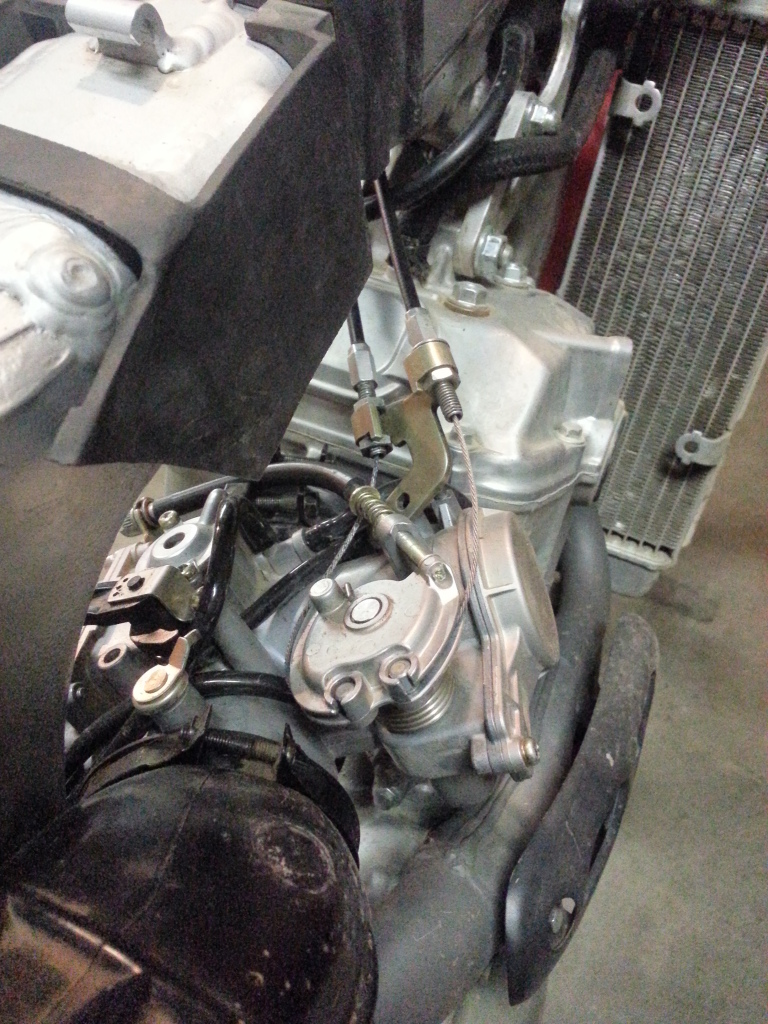
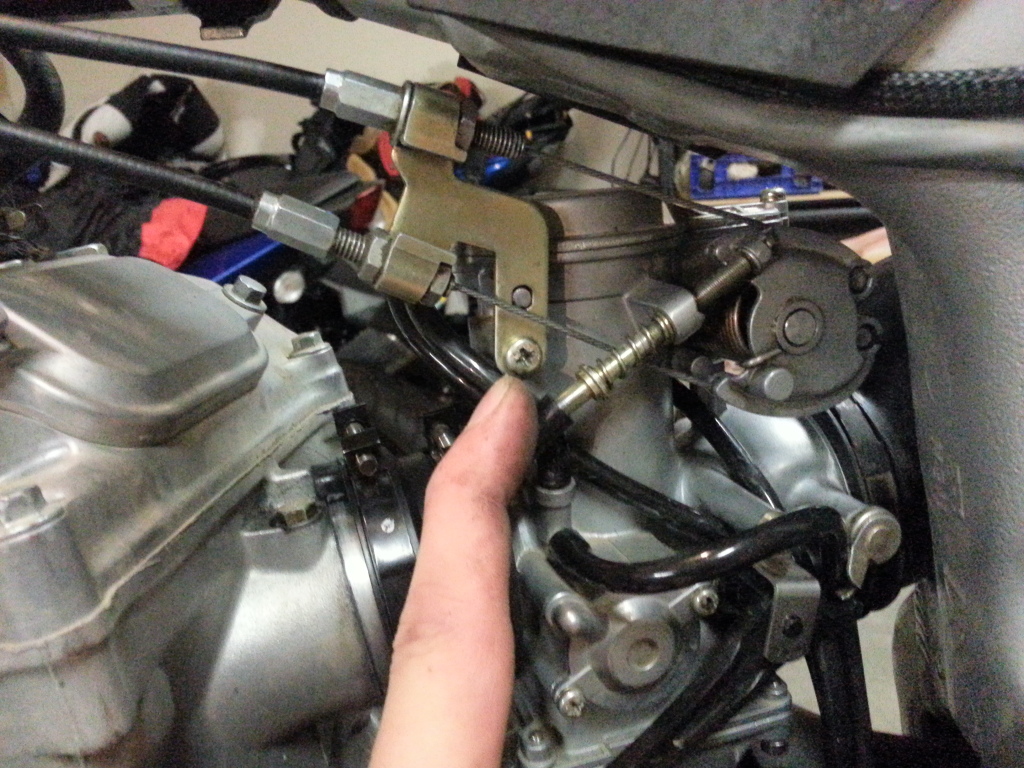
Step-3
Next loosen the clamps so you can rotate the carb, then turn it over towards the pipe. This makes removing the throttle cables off the cam much easier. Once the cables are off hang the cables over a radiator to get them out of the way.
Step-4
Remove the carb. Sounds simple but it can be a pain. You may want to completely unscrew and remove the clamp from the airbox side here. We'll do that later but if you're struggling, do it now.
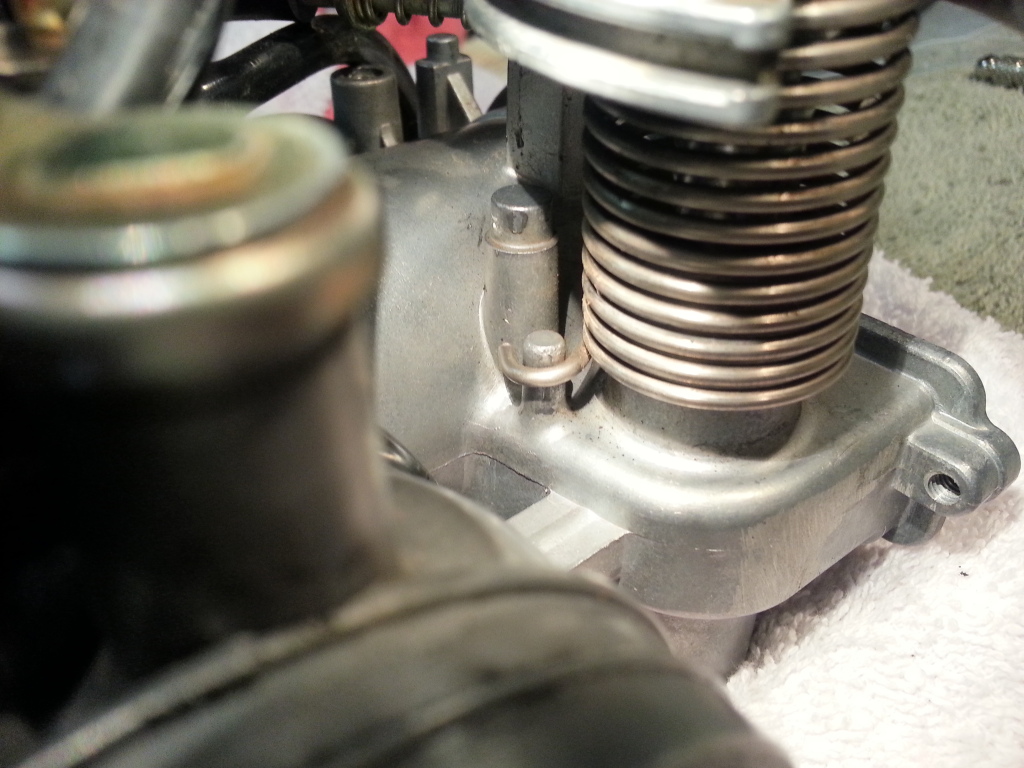
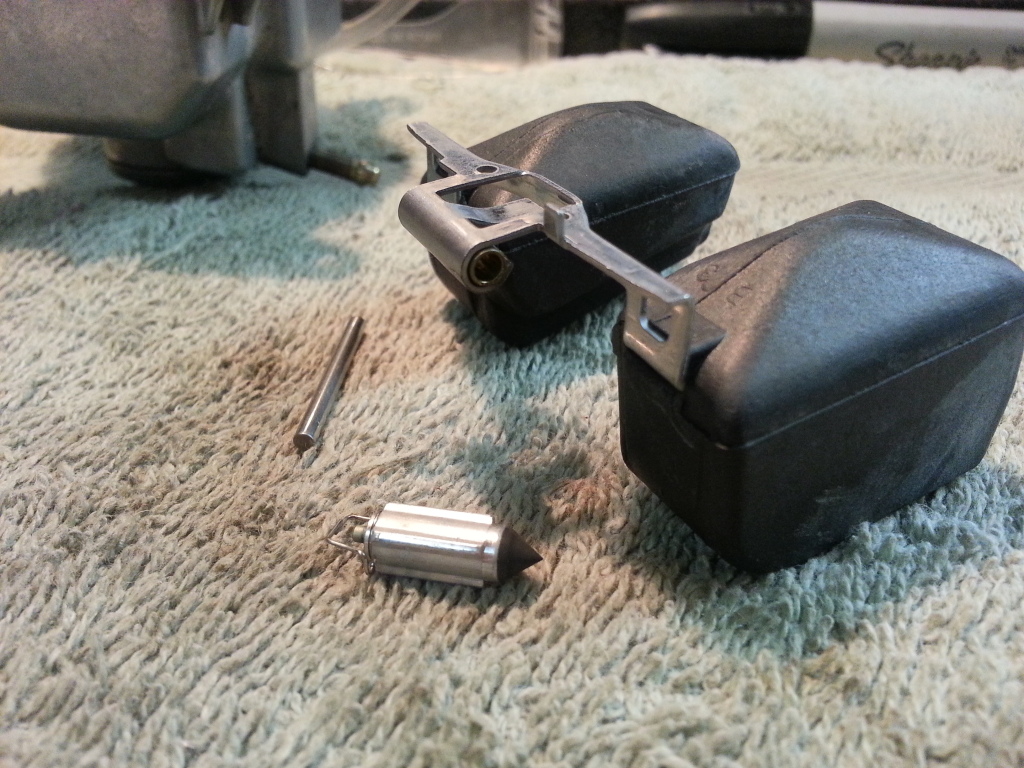
Step-5
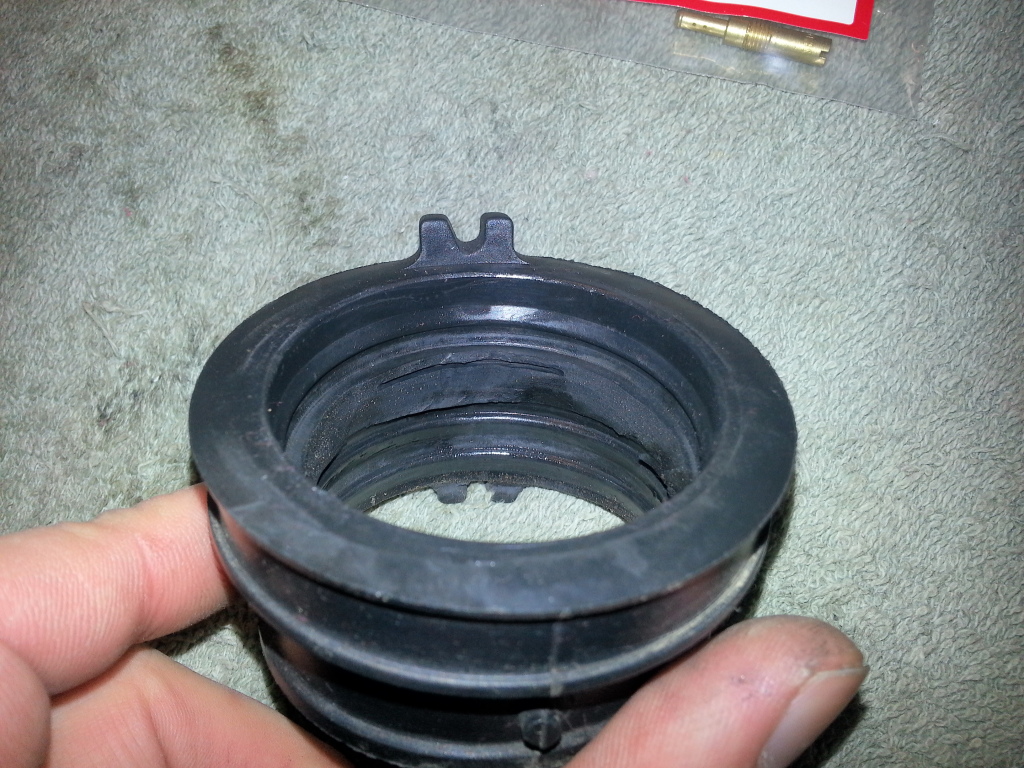
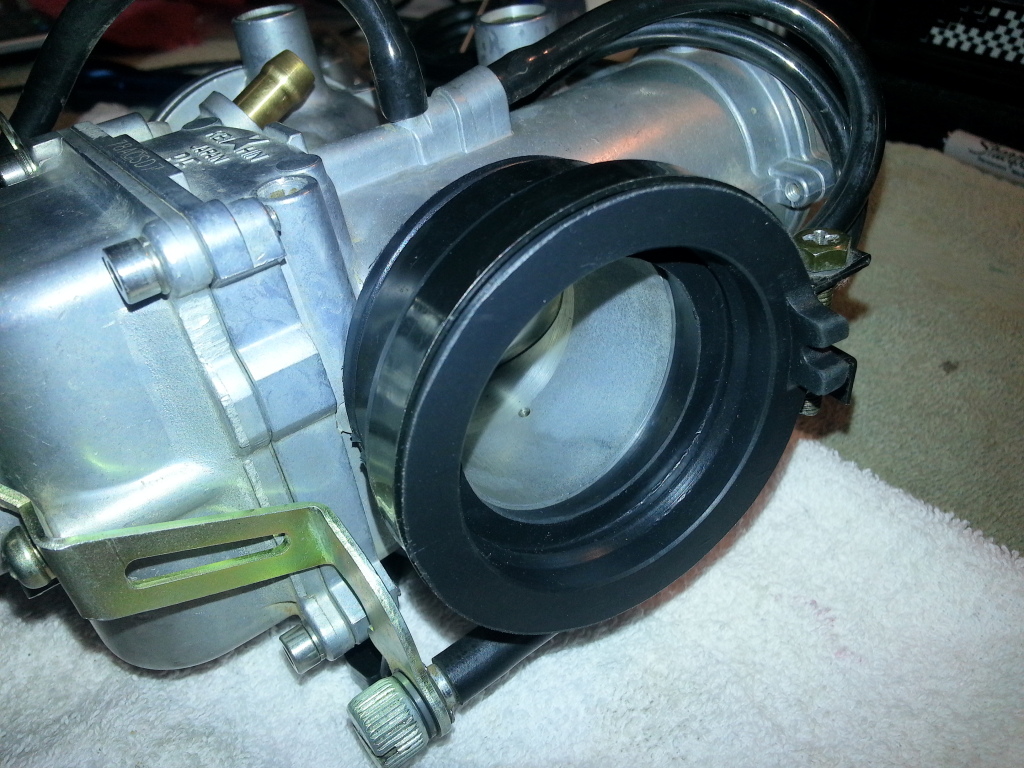
This is the OEM "carb isolator" manifold deal that the original owner chopped up. Its not horrible but we'll be replacing it with a real nice OEM one that hasn't been butchered while removing the square restrictor inside.

Here's the super fancy New OEM one we'll be replacing this one with.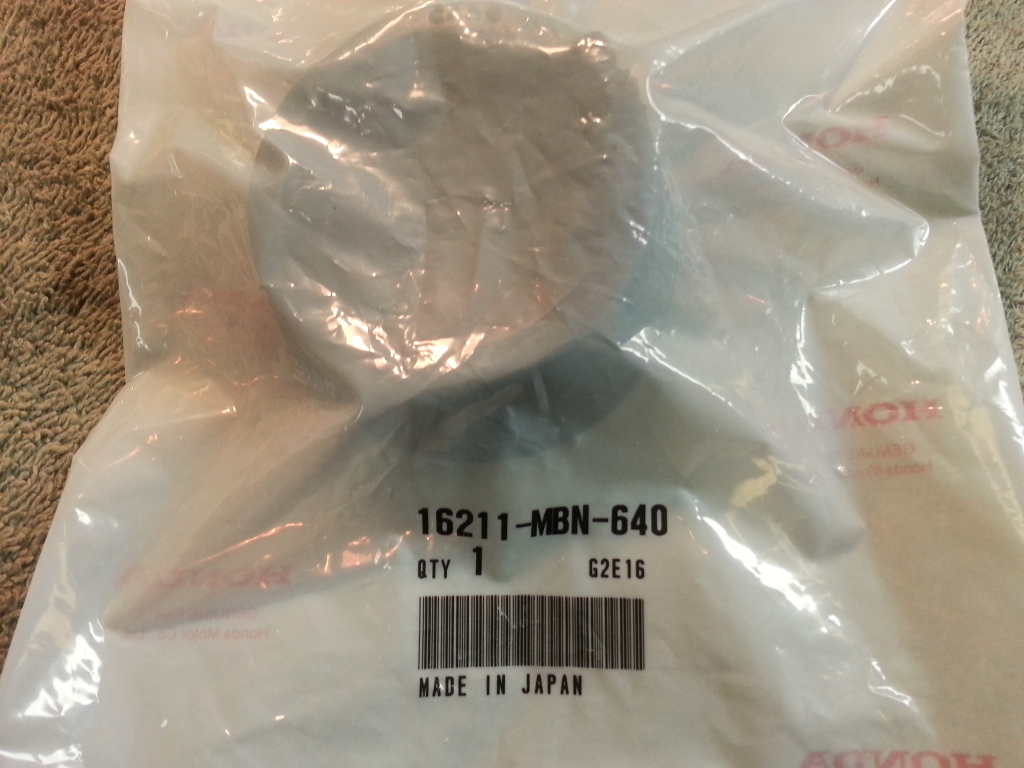
Step-6
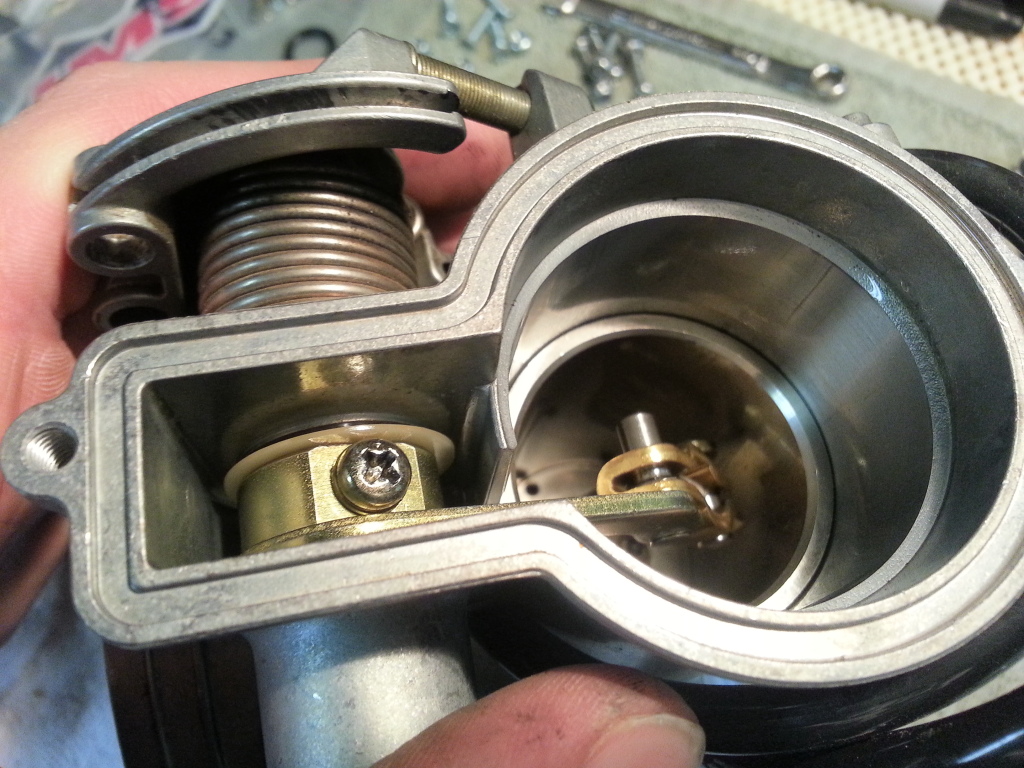
We'll start with the needle. Remove the two screws to the upper cap.
Step-7
Once the upper cap and O-Ring are removed remove this screw. Now the whole shaft can slip right out. DO NOT mess with your idle adjustment. We want to leave that alone to make it easier to put back together. When you pull the shaft out (try to stay with me  perverts...) the spring will unwind. Don't worry, this is a piece of cake to put back together.
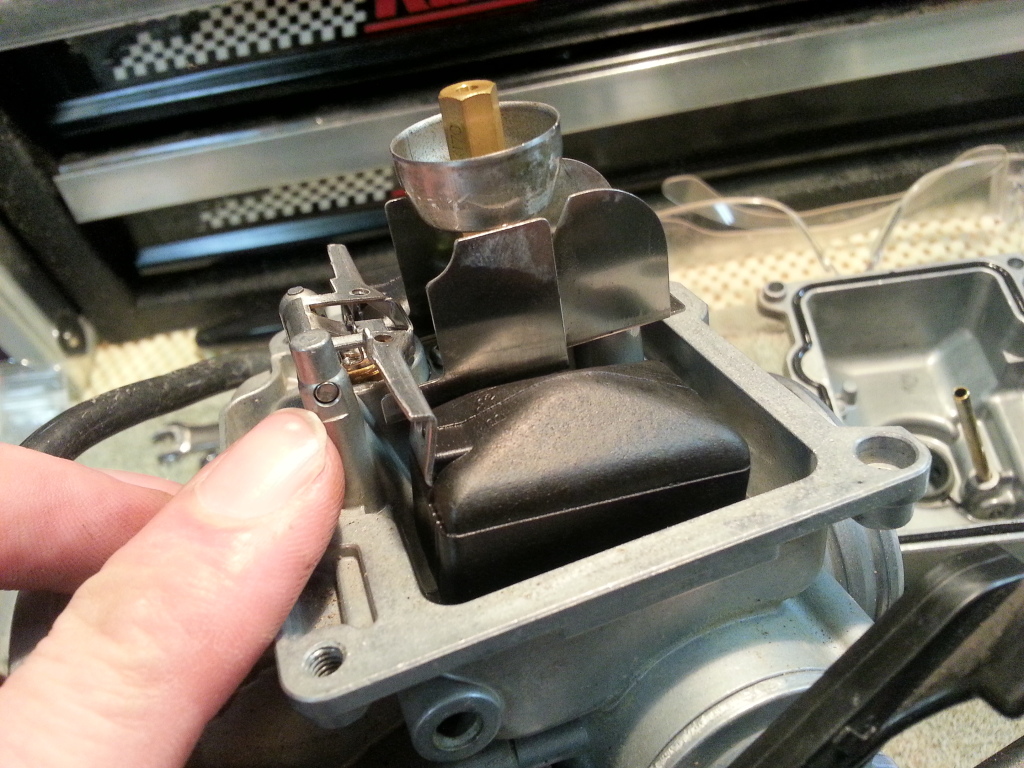
Step-8
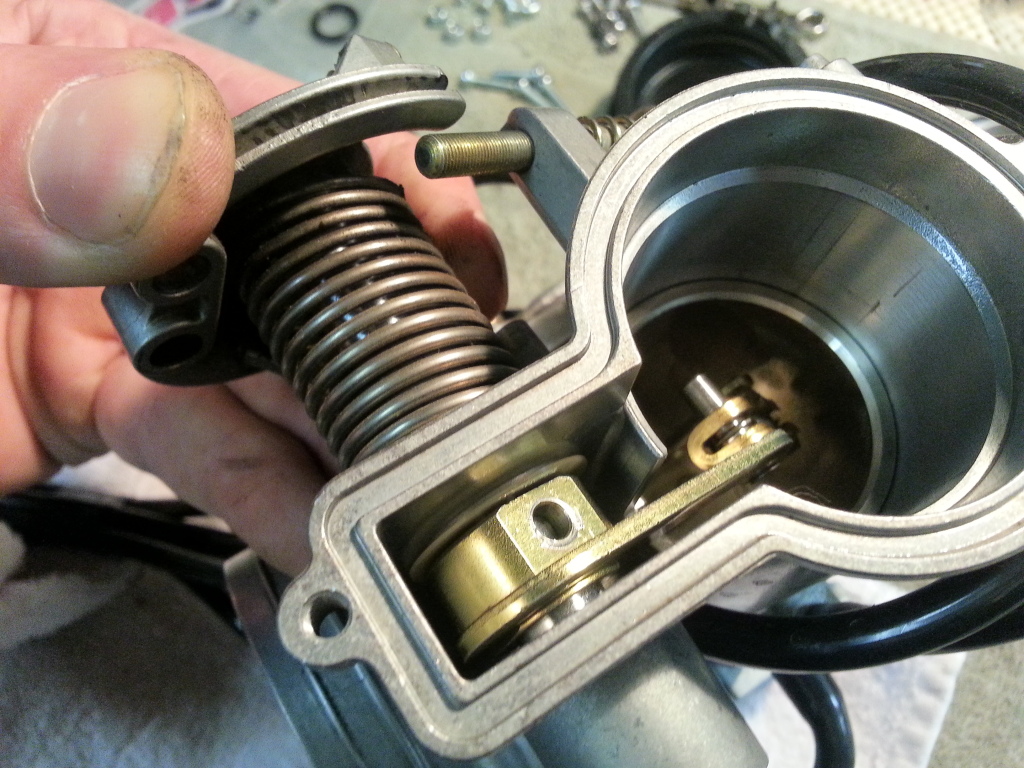
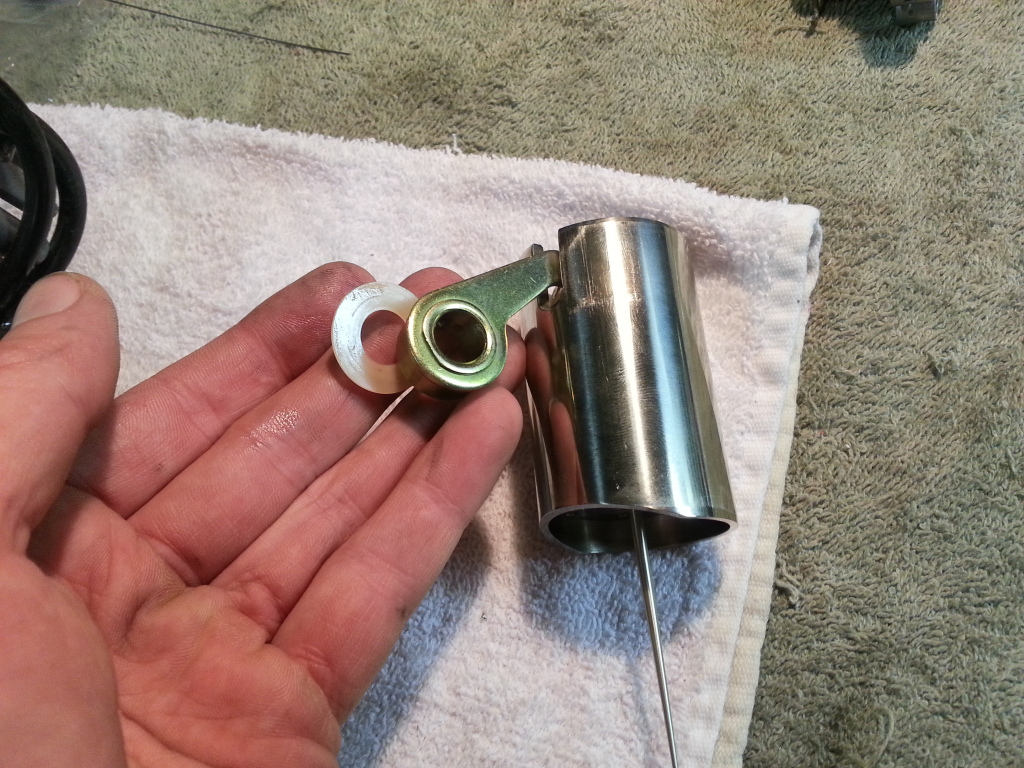
With the shaft removed the throttle valve and needle come right out. Take note of the little plastic washer. Its important and you don't wan't to put it in on the wrong side or lose it.

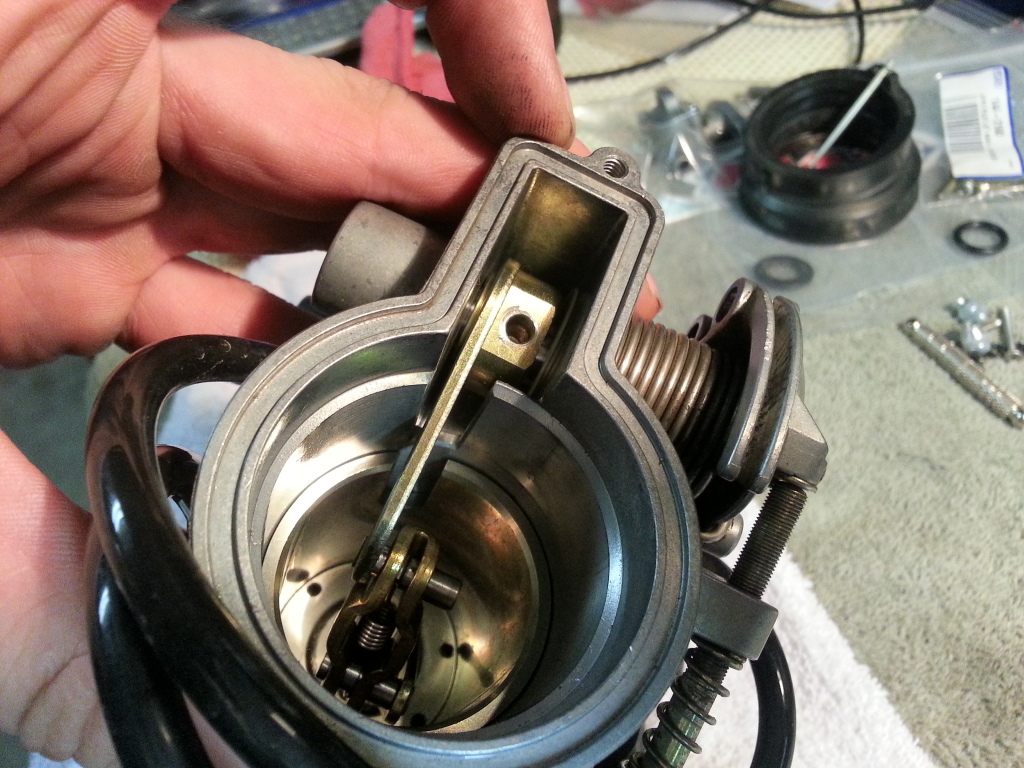
Step-9
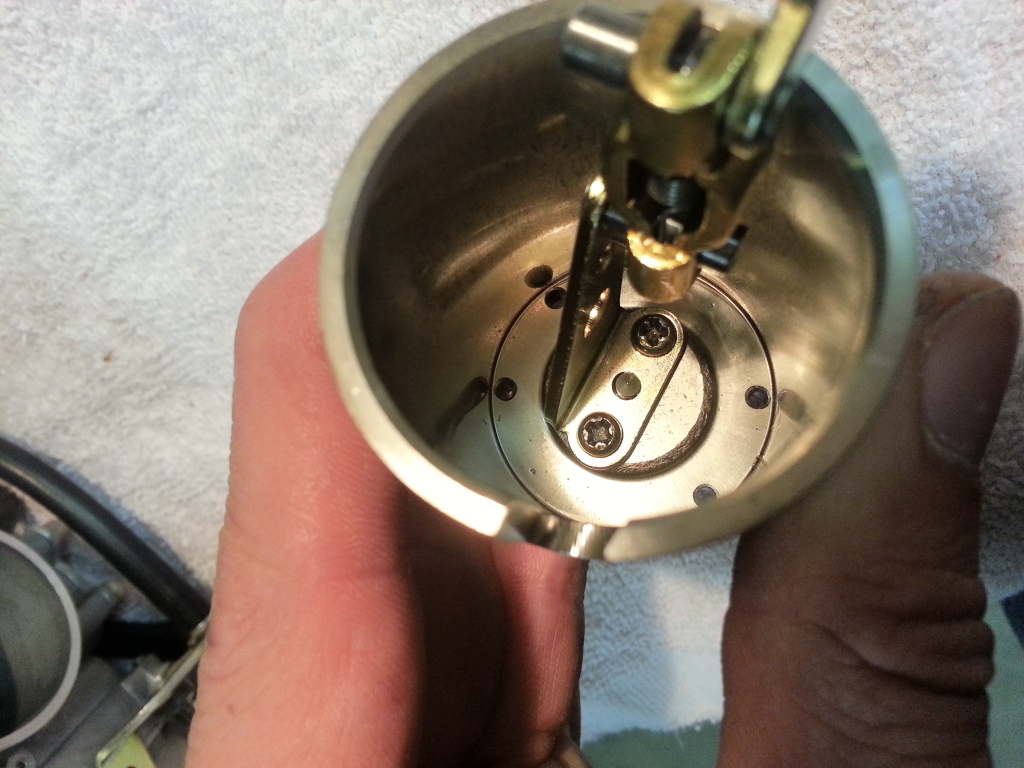
Okay, now down inside of the throttle valve remove the two screws holding the arm in. Do yourself a favor and do not take the arm apart. There's no need and its a pain to put back together. It only goes in one way with the slot on the throttle valve so fret not about assembly.
Step-10
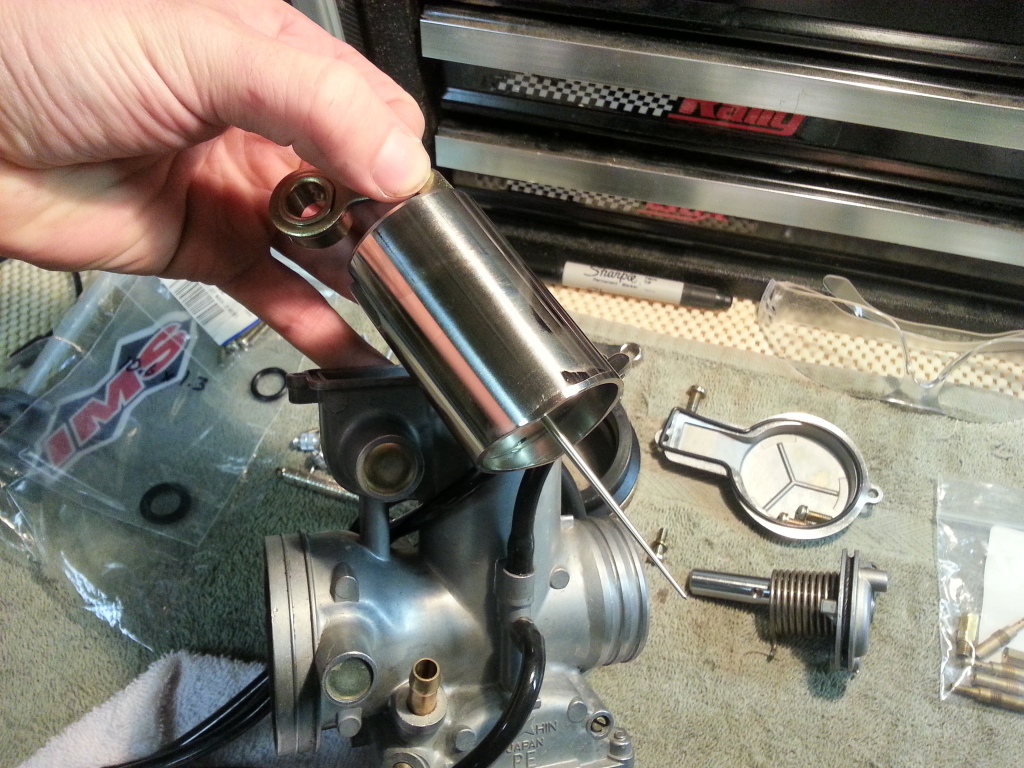
Once the arm is out the needle can be removed from the throttle valve.
Step-11
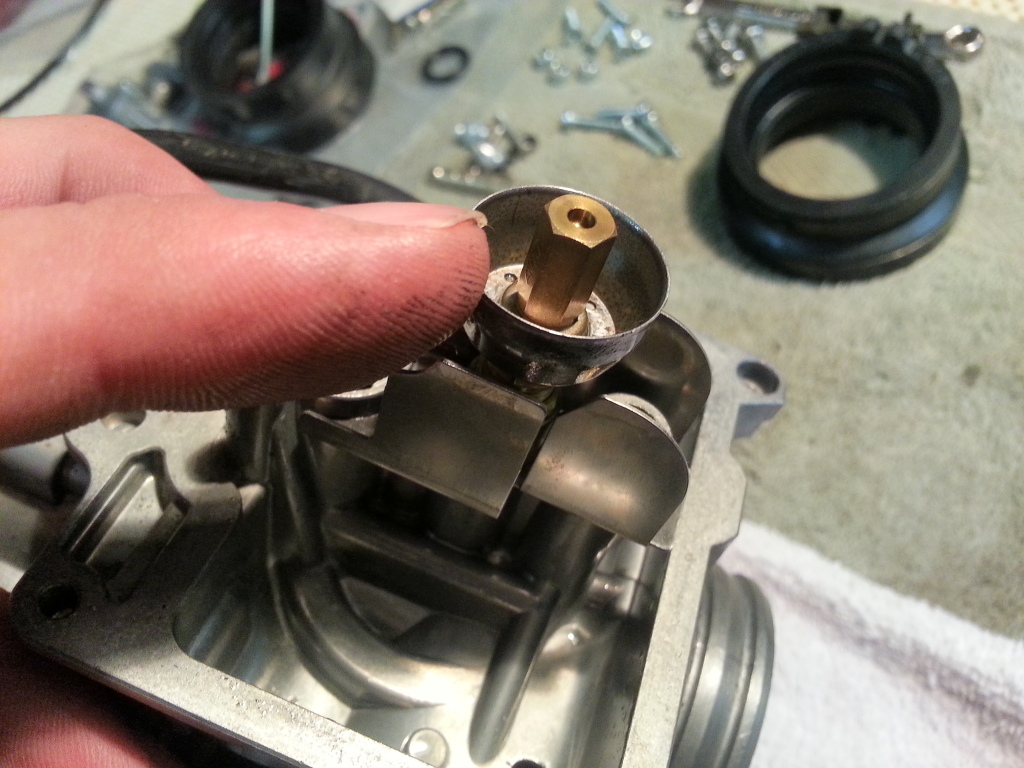
Installing the new needle is a piece of cake. On the new needle put the clip on in the third groove down from the top.
DO NOT worry about this little guy just yet. This is your needle jet and we'll get to it when we take the bottom of the carb apart.
Step-12
Drop the new needle with the clip in the 3rd slot from the top back into the throttle valve and re-install the linkage arm back into the bottom of the throttle valve with the two screws. Note the little plastic washer and what side of the linkage it goes on. Also the linkage arm only goes through the throttle valve one way so if its not working, turn it around.
Step-13
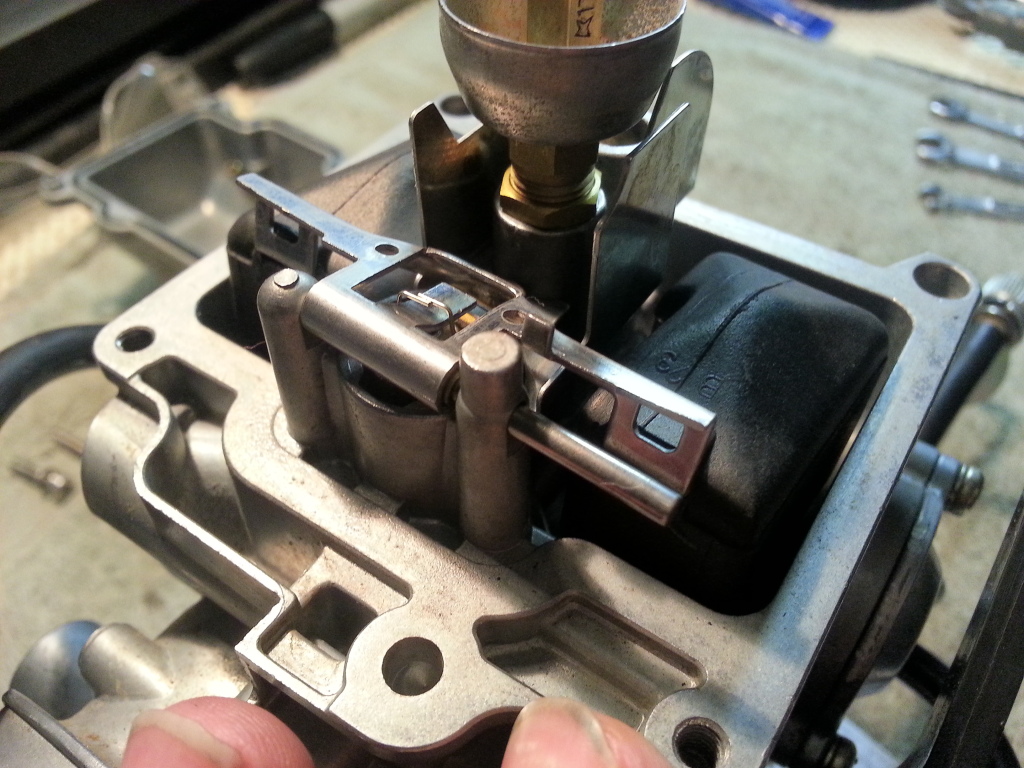
Line up the washer and linkage then slip the shaft in. This is the fun part that seemed scary before. Hook the spring on its stop with one hand and pull the cam out a bit to clear the idle adjustment stop. Rotate the cam around winding up the spring until the flat on the cam for the idle screw lines up with the idle screw then slide the shaft all the way in.
Step-14
If you didn't touch the idle screw the screw holes to tie the linkage arm to the shaft will line up perfectly. Just put the screw back in there, the O-Ring and upper cap with the two screws and the upper half is done. Grab another beer and lets dig into the lower half now.
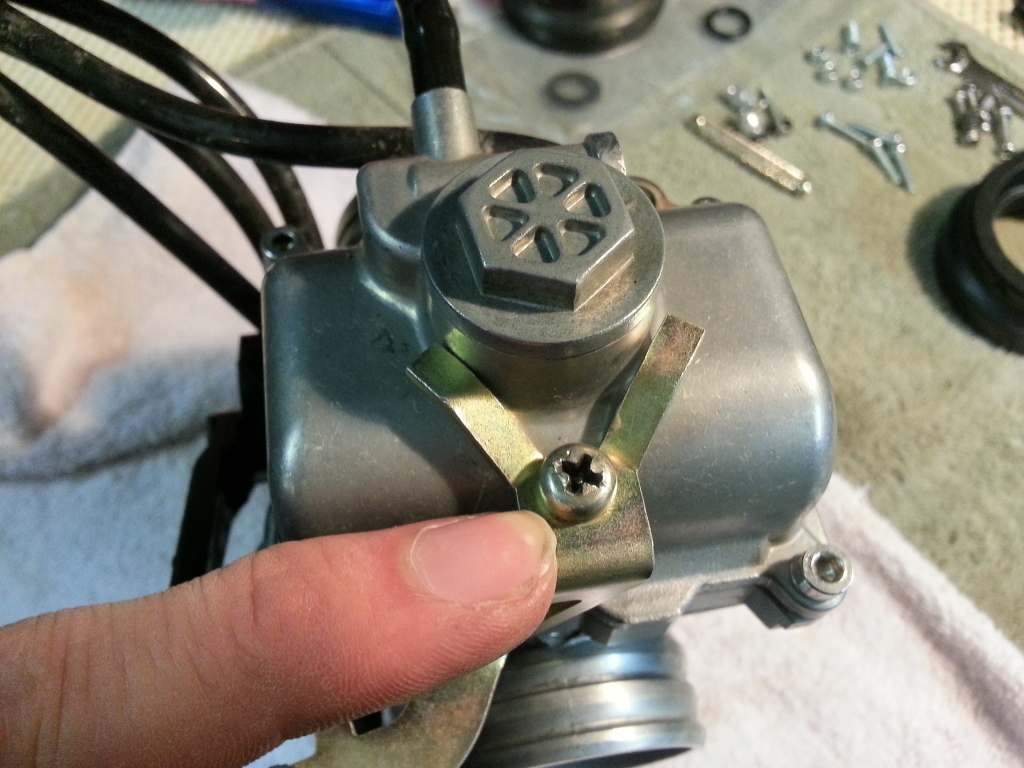
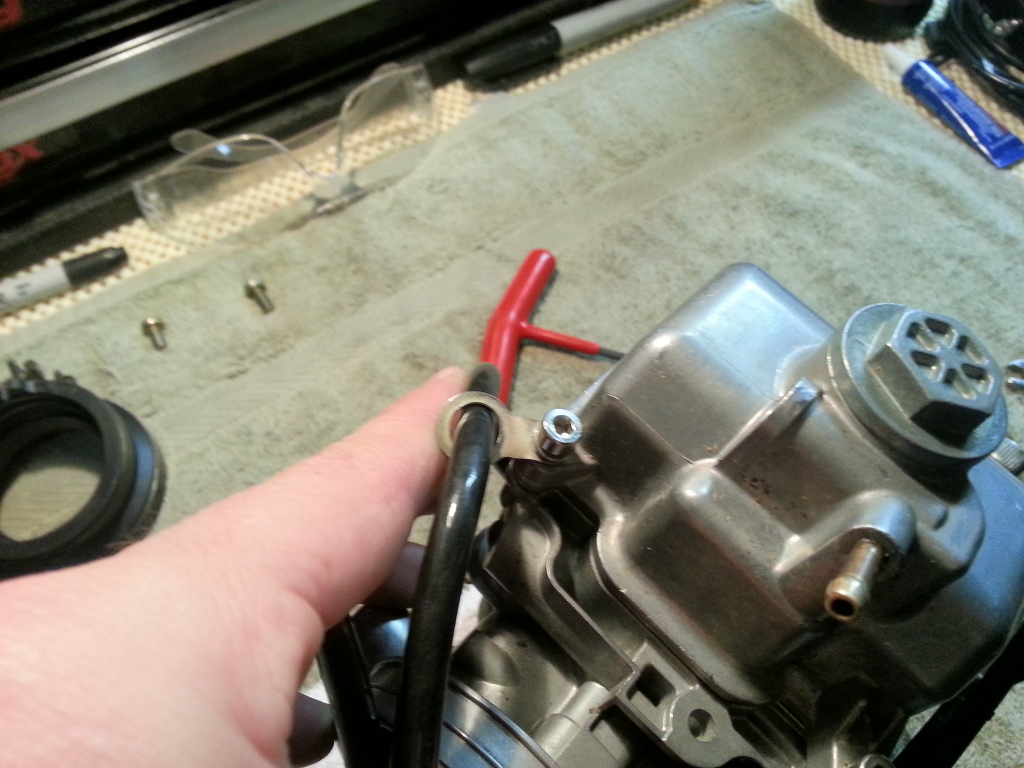
Step-15
Remove the screw for the idle screw adjustment bracket and the bowl drain vent tube.
Step-16
Next remove the 4 float bowl screws and remove the bowl.

Step-17
With the bowl removed, push the float pin out and remove the floats and the needle. Be careful with this stuff its fragile and bends easily.
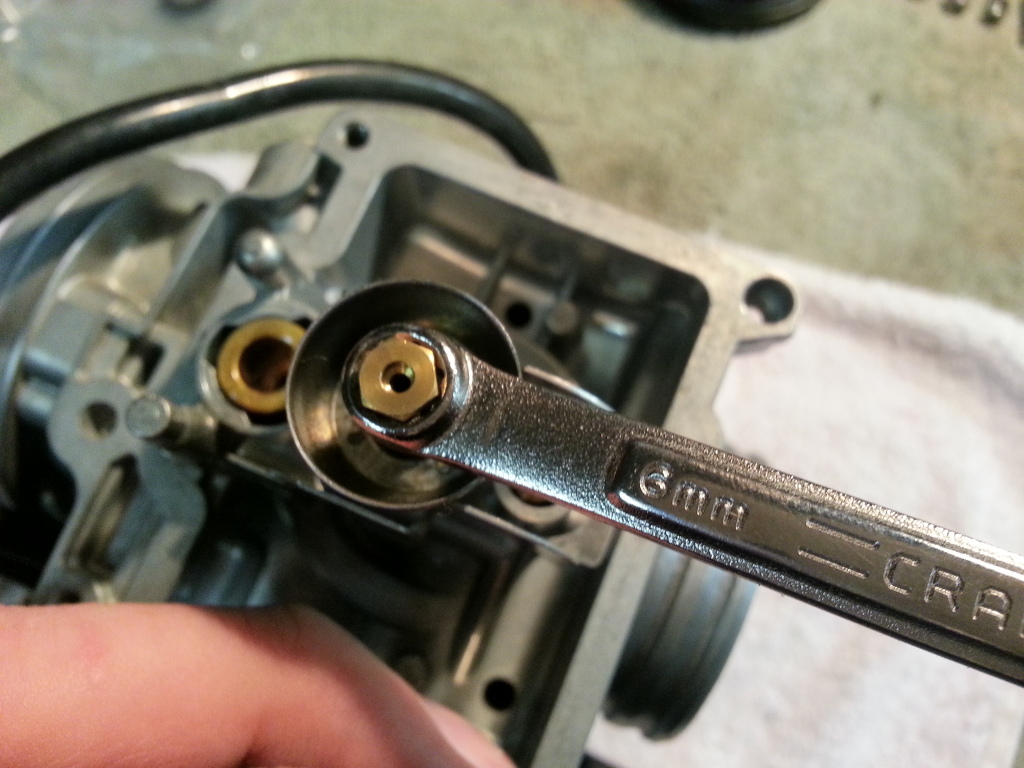
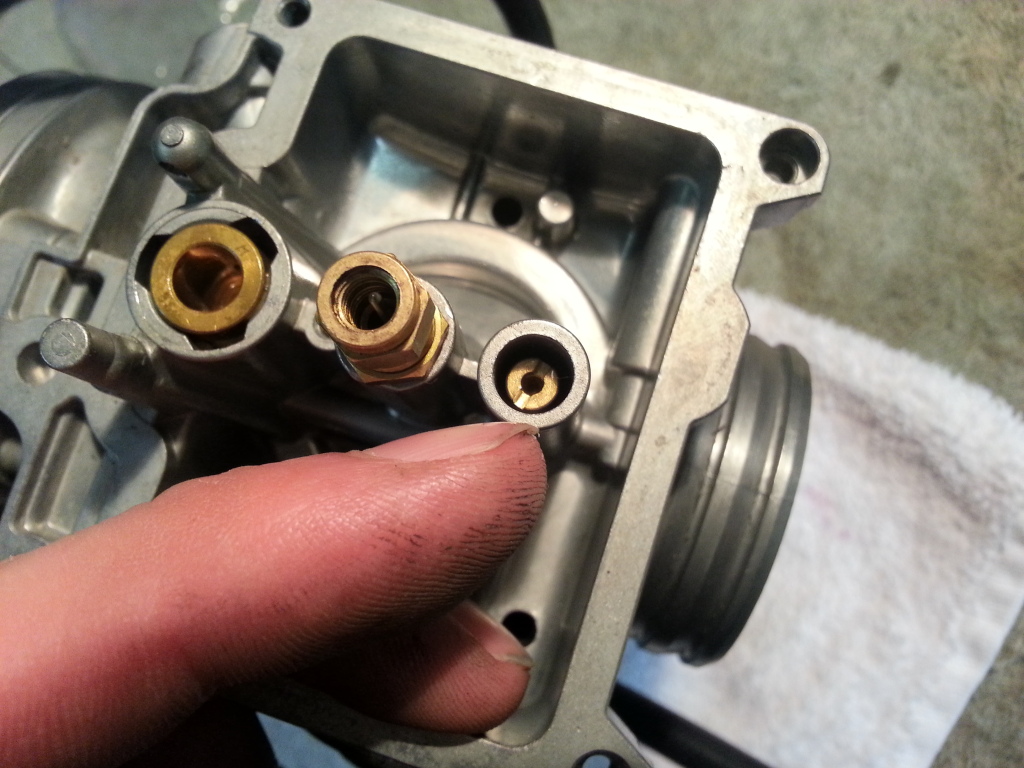
Step-18
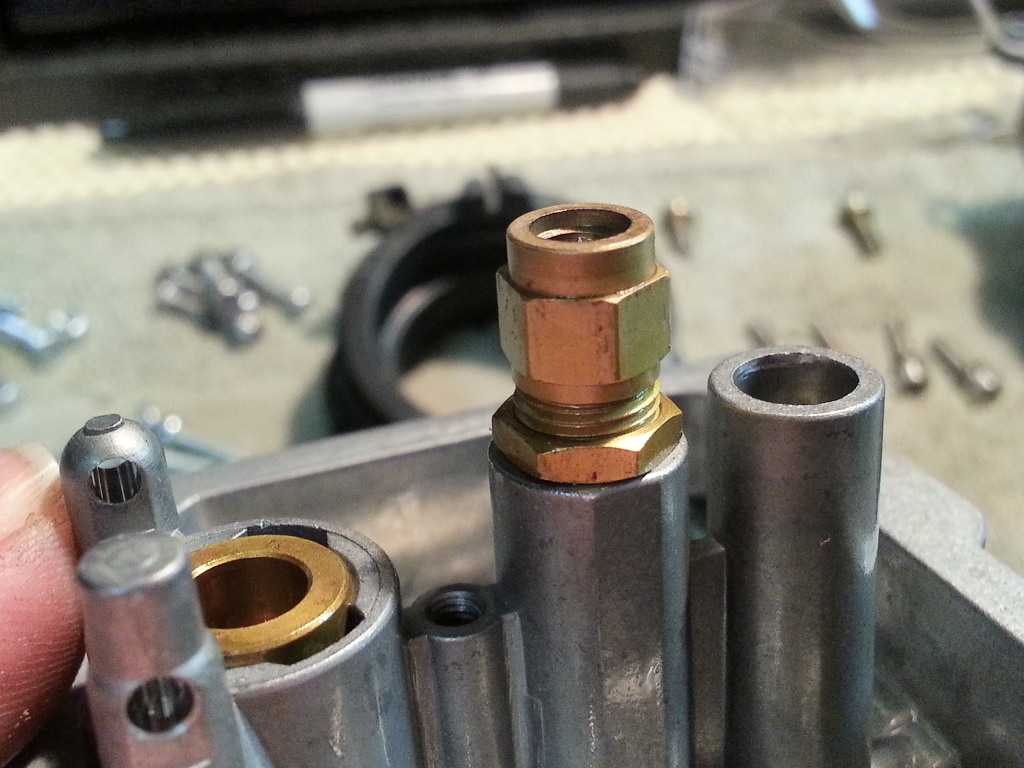
With your 6mm wrench remove the main jet and the little bowl shaped jet holder.
Step-19
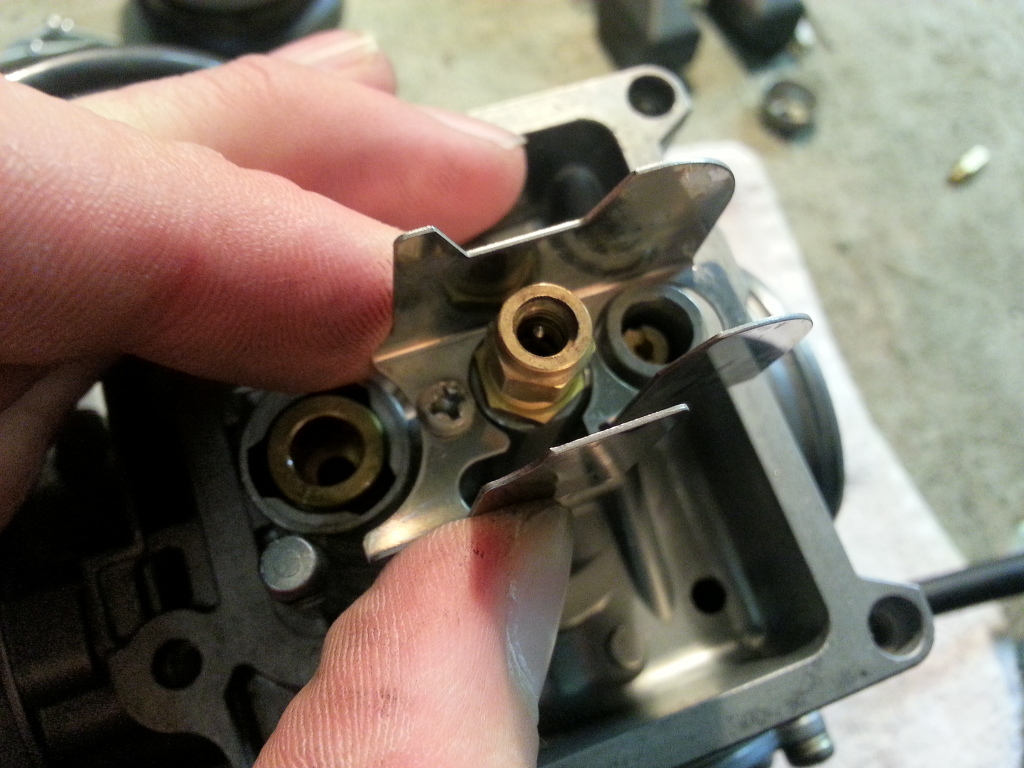
With the main jet removed remove the little screw and the little buffer plate.
Step-20
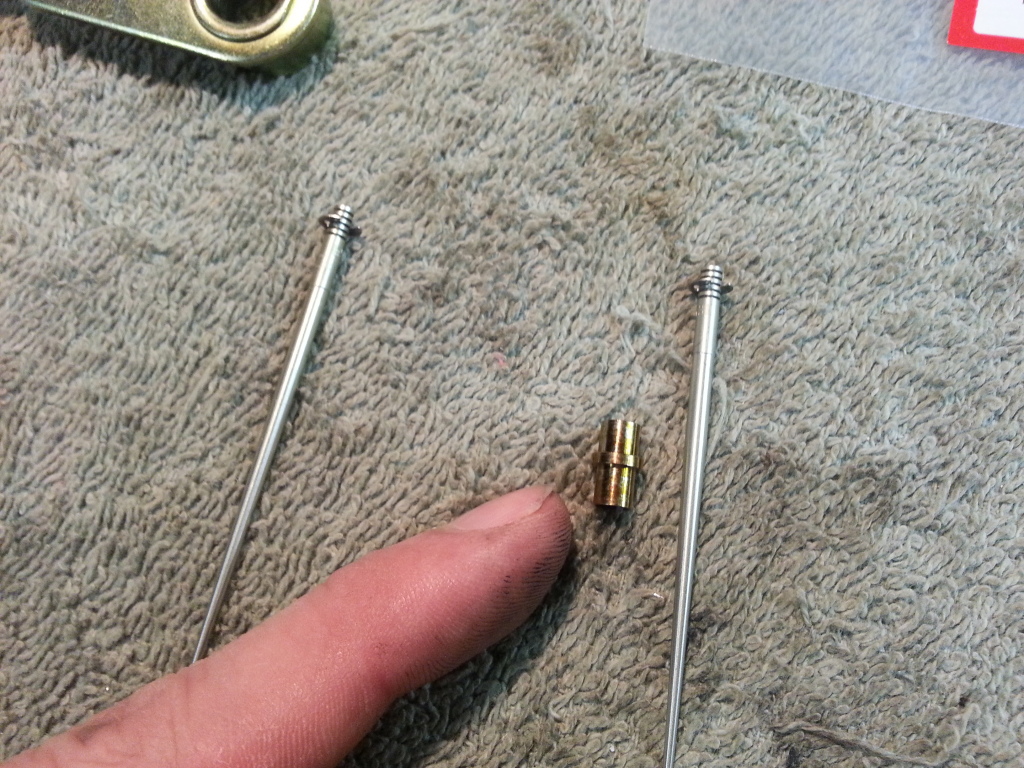
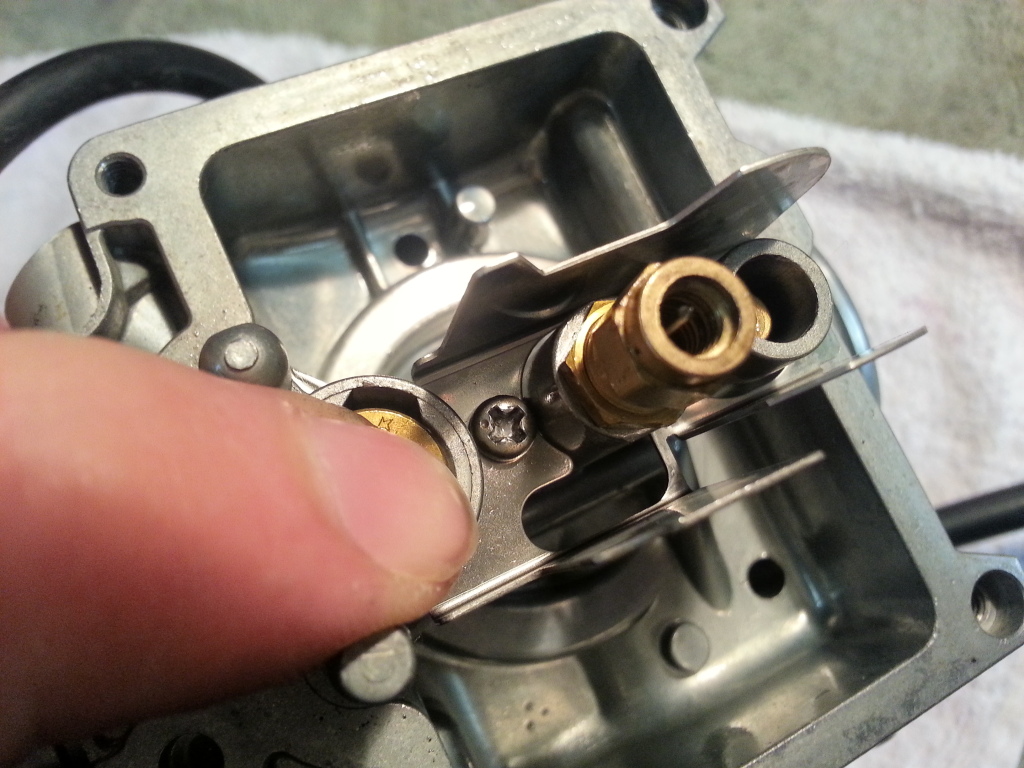
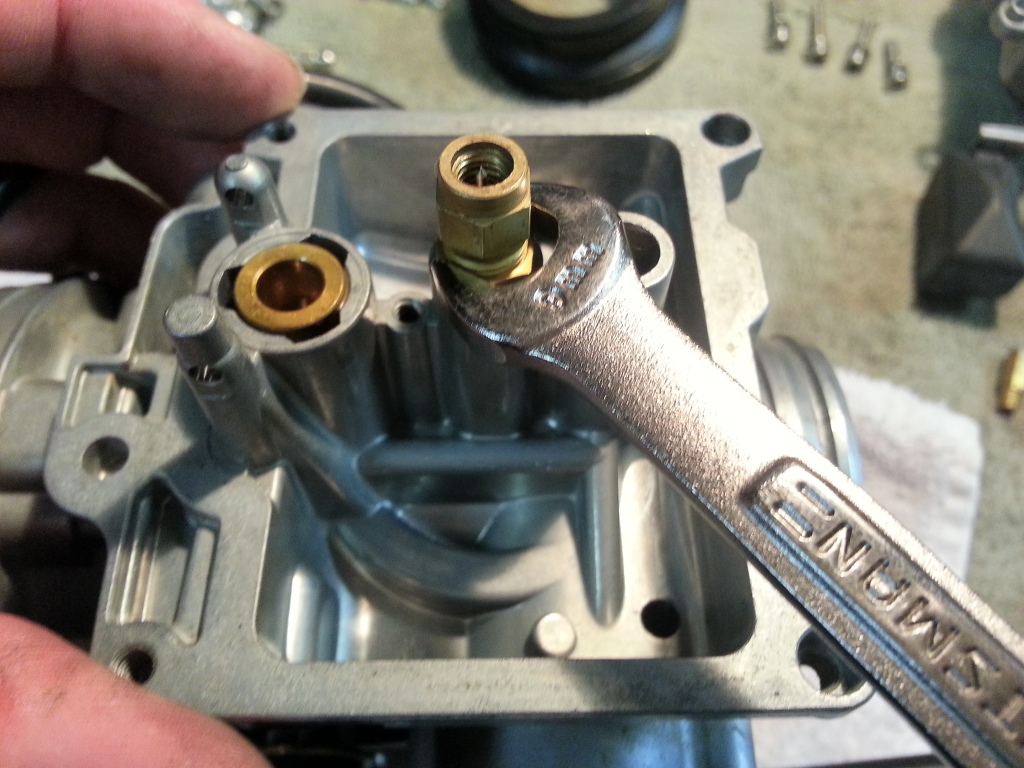
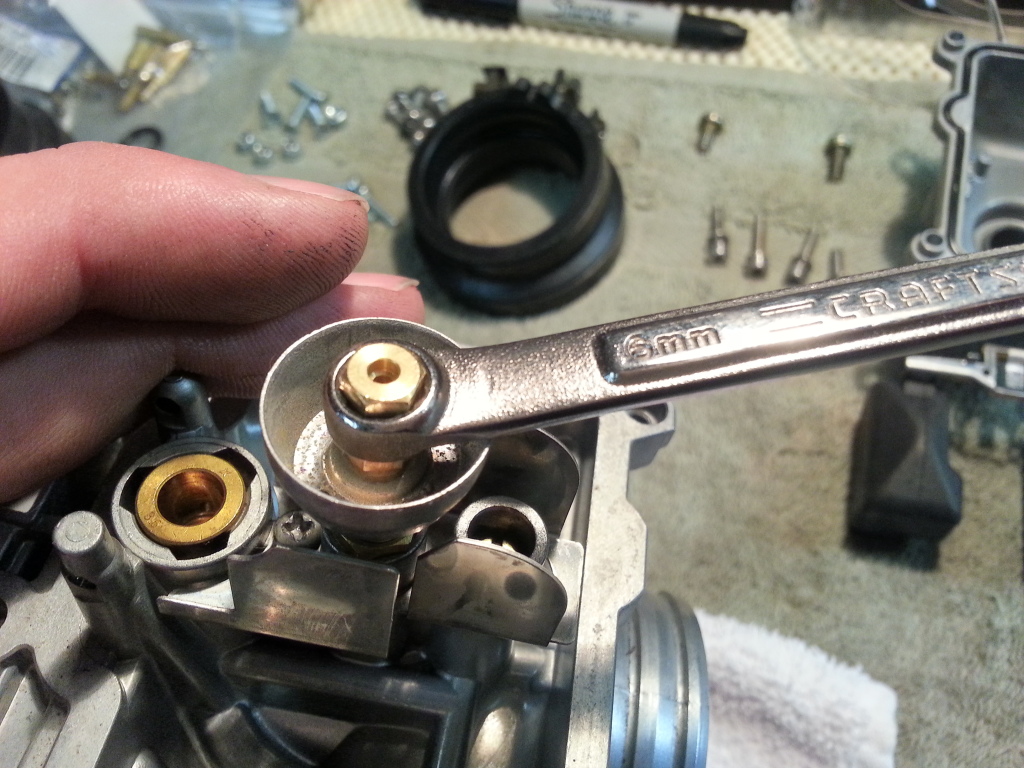
Now that the buffer is out of the way loosen the lock nut with your 9mm wrench then remove the needle jet holder with your 8mm wrench.
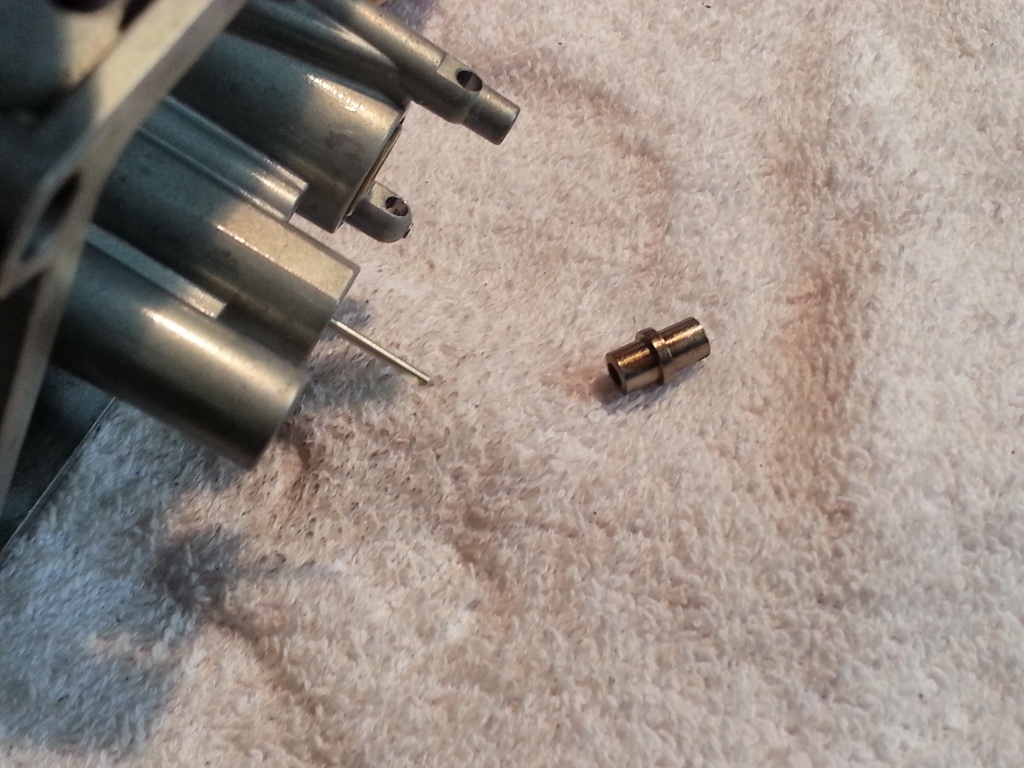
Step-21
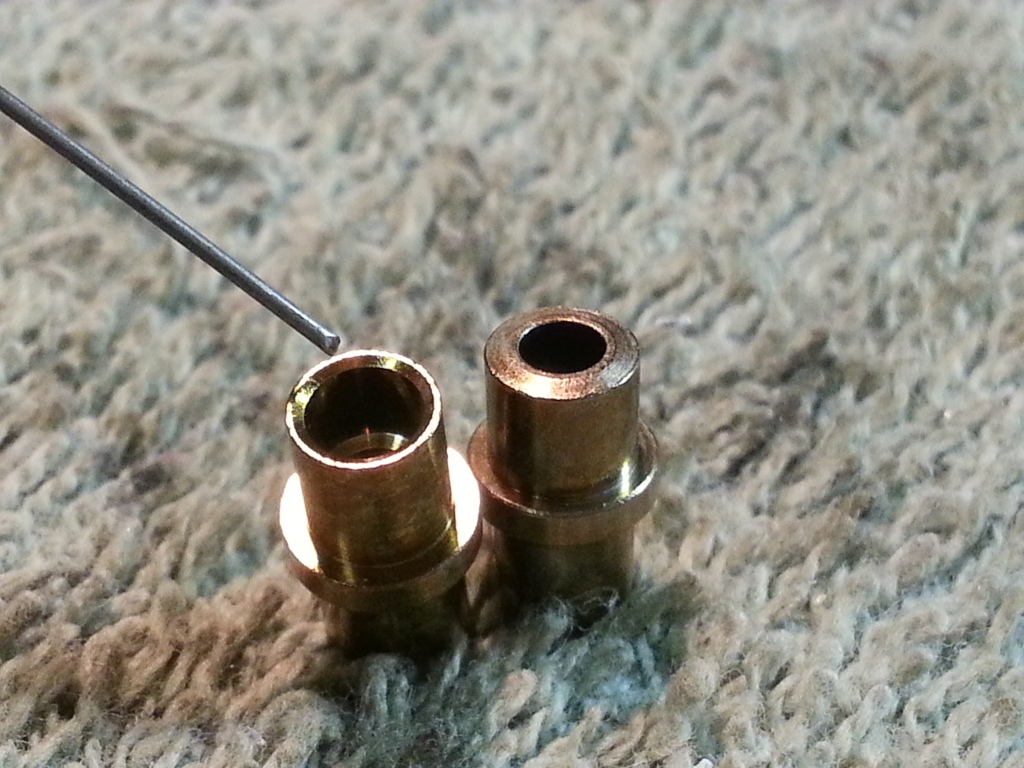
BE CAREFUL! I REPEAT, BE CAREFUL!!! You know what folding a nail over a 2x4 looks like? Don't do that to your new needle. Being very careful not to bend the needle turn the carb up and give it a shake. The old needle jet should fall right out. If it doesn't you can lift the throttle valve by hand and use your finger to coax it out. If you're wondering, the answer is yes. The needle jet does go in a certain way. I'll be pointing that out soon.
INTERMISSION
This marks the beginning of putting the carb back together. Everything should be neatly laid out and be making sense to you. If throwing everything in a can makes sense to you have at it. But I like things being in order and neat.
Step-22
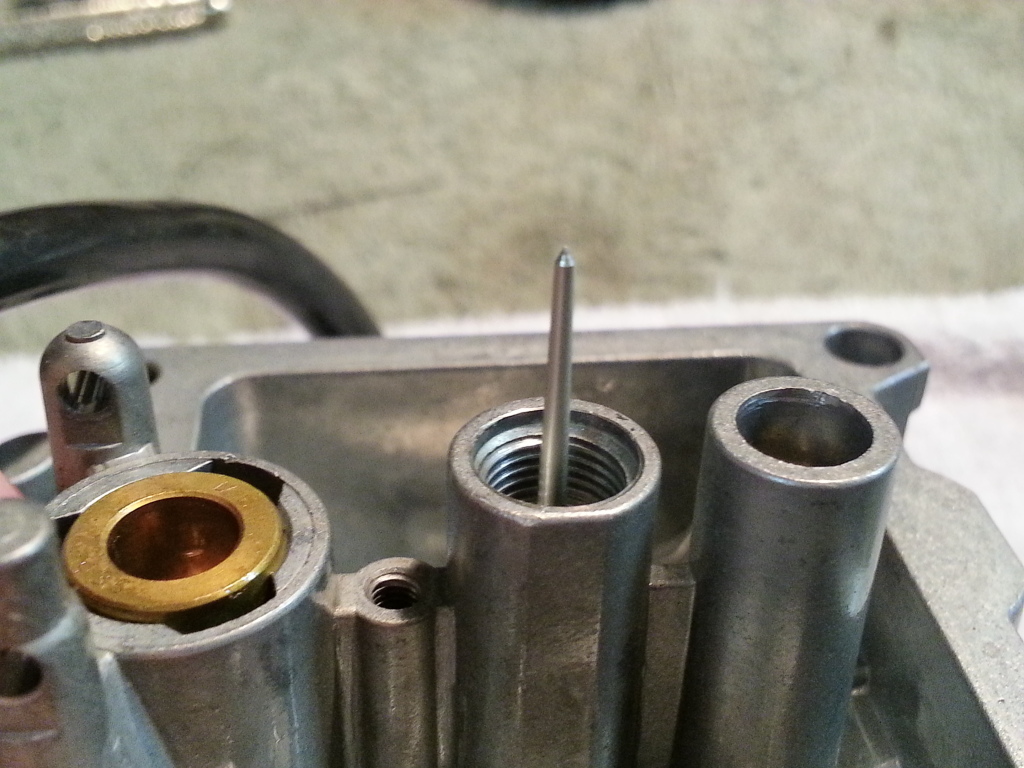
Installing the new needle jet. The side with a narrow rim being pointed out goes up towards the needle. The side with a small hole and a large rounded flange goes towards the bowl.
Step-23
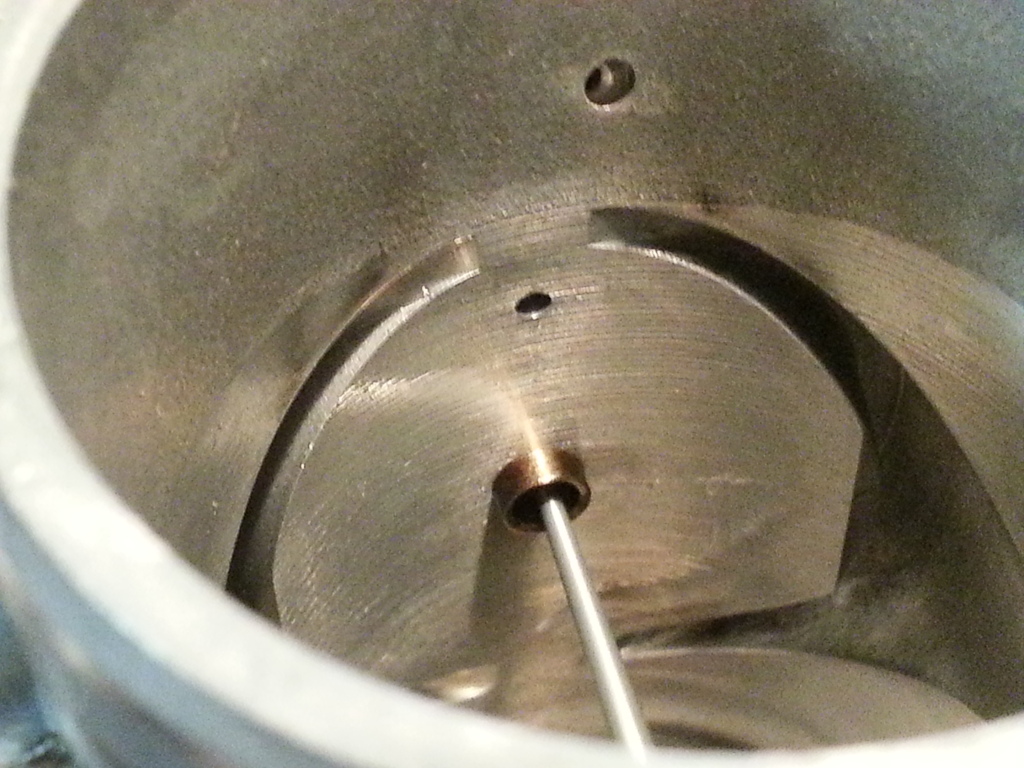
Install the Needle jet holder and lock nut. Make sure that the needle jet is in the correct orientation and completely seats. It should stick up into the carb. As long as the needle jet is completely set tighten the needle jet holder down then the lock nut.
Step-24
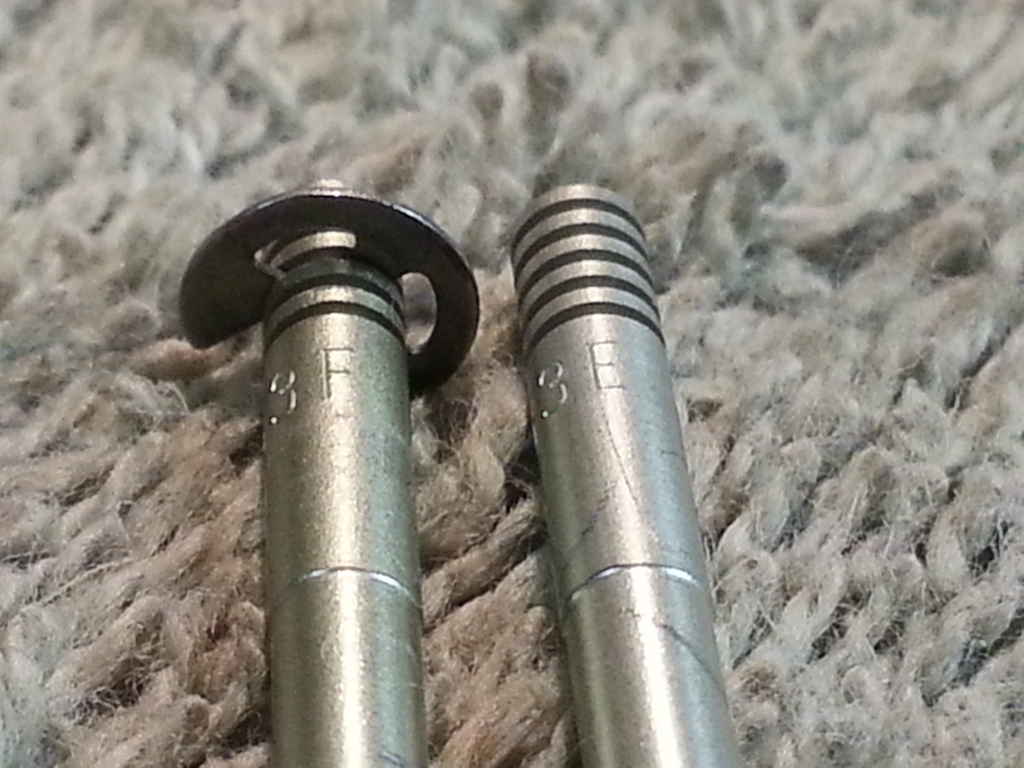
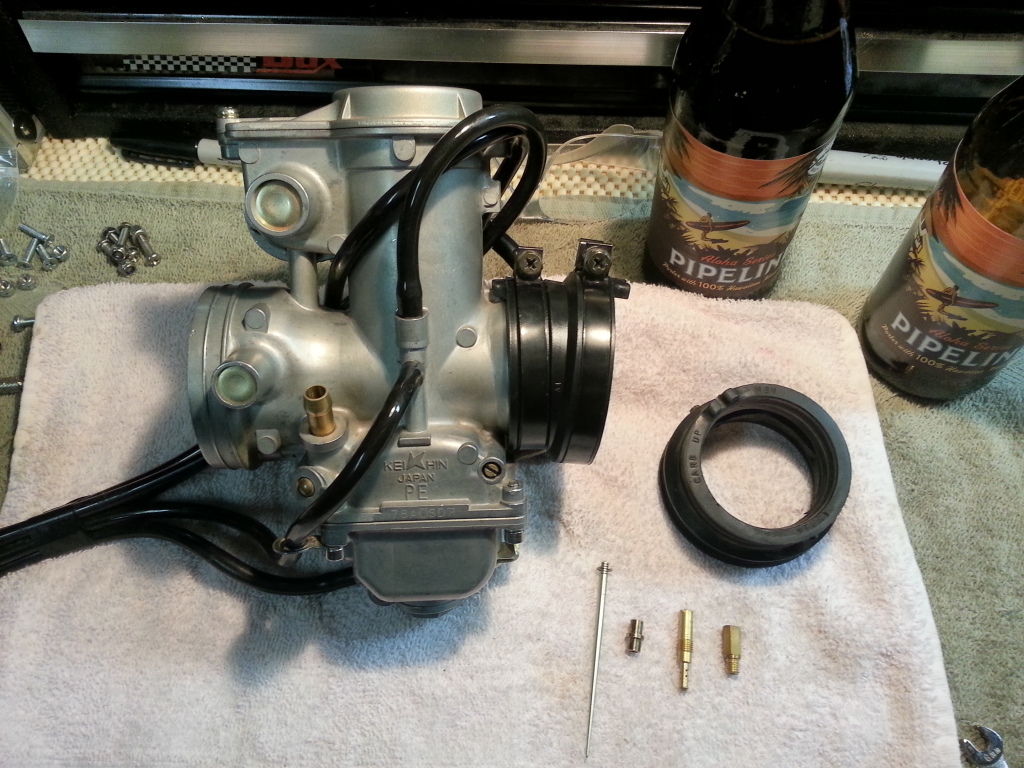
The pilot jet! My BRP finally gets to meet the infamous 68S. Remove the old pilot jet and screw in the new one. Below I've laid out the two jets I plan to use. Consult the XRR jetting guide for the jetting that'll be best for you.
http://www.xr650r.us/jetting/
Step-25
Re-install the baffle with the single little screw.
Step-26
Install your new Main jet and the bowl shaped jet holder.
Step-27
I'm not going to go into details about how to set your float bowl height. Just know that the float level should be set to 16mm (0.63 in) per the manual. With that in mind re-install the floats and valve with the pin. Make sure the pin is completely installed.
Step-28
Install the float bowl and O-Ring. Take note of the little ring that helps keep your vent tube from melting on the exhaust pipe.
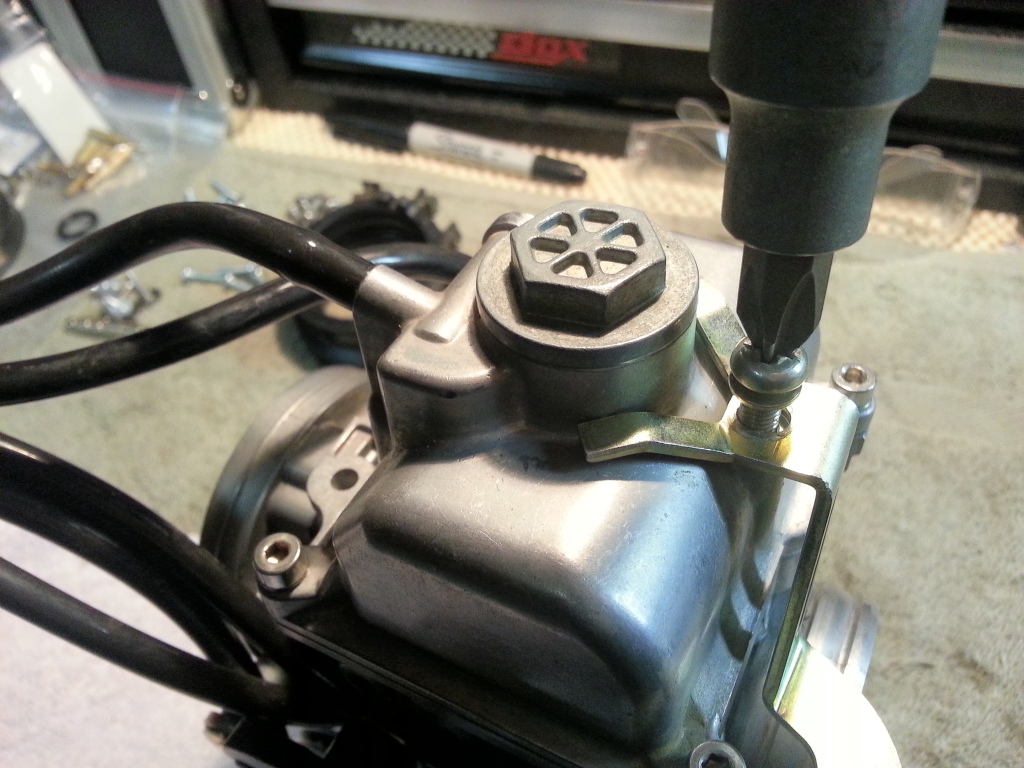
Step-29
Re-install the idle adjustment bracket and float bowl drain tube.
Step-30
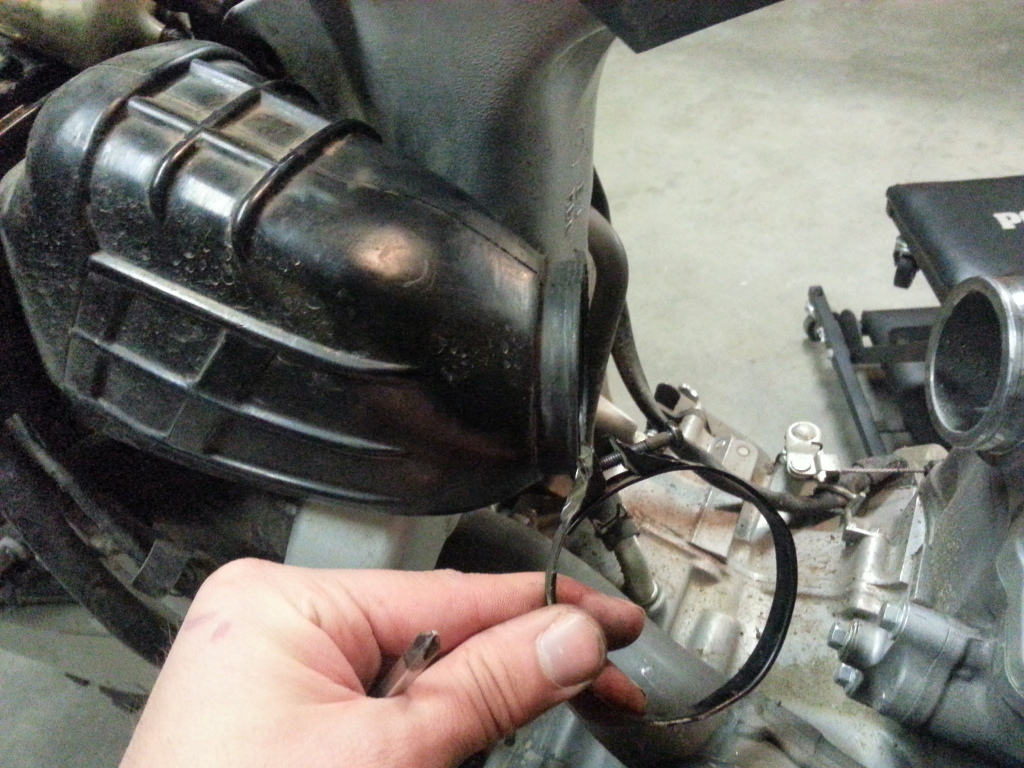
Remove the clamps from the old rubber manifold and put them on the new one. This looks so much better than before.
INTERMISSION
We are now done inside the carb. From here on we're putting the carb back in the bike. We've replaced the rubber carb manifold, needle, needle jet, main jet and pilot jet. Hmmmmm, Ok, one more beer...
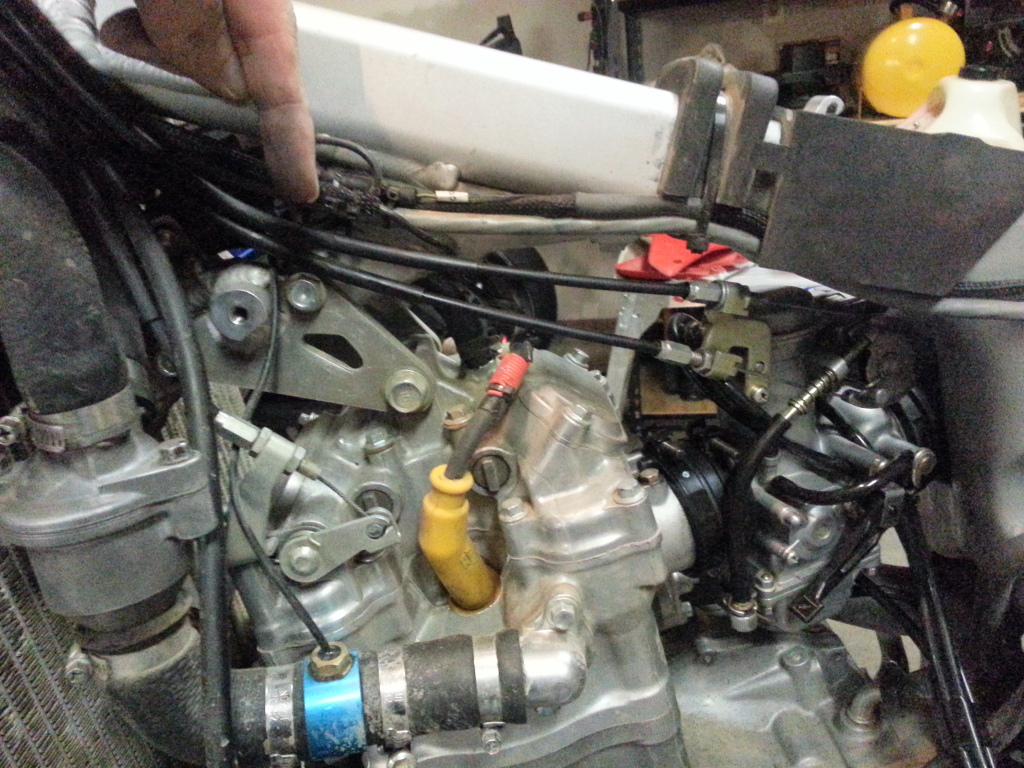
Step-31
If you haven't already, completely remove the clamp from the airbox boot then weasel the carb into place.Don't tighten the clamps just yet.
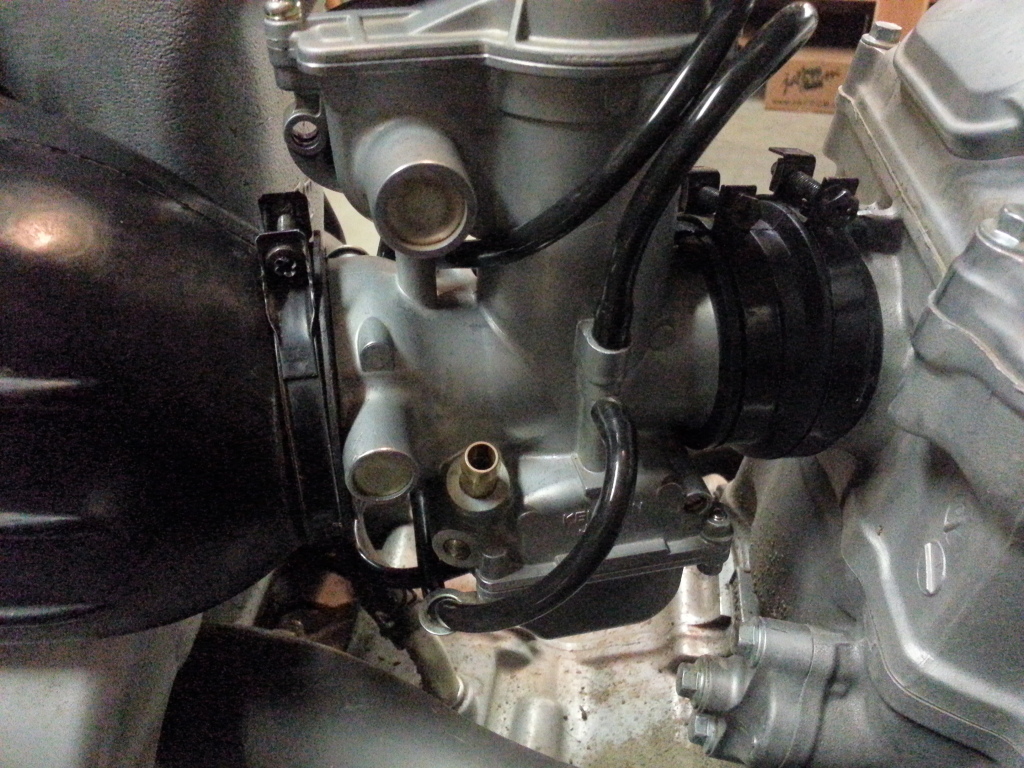
Step-32
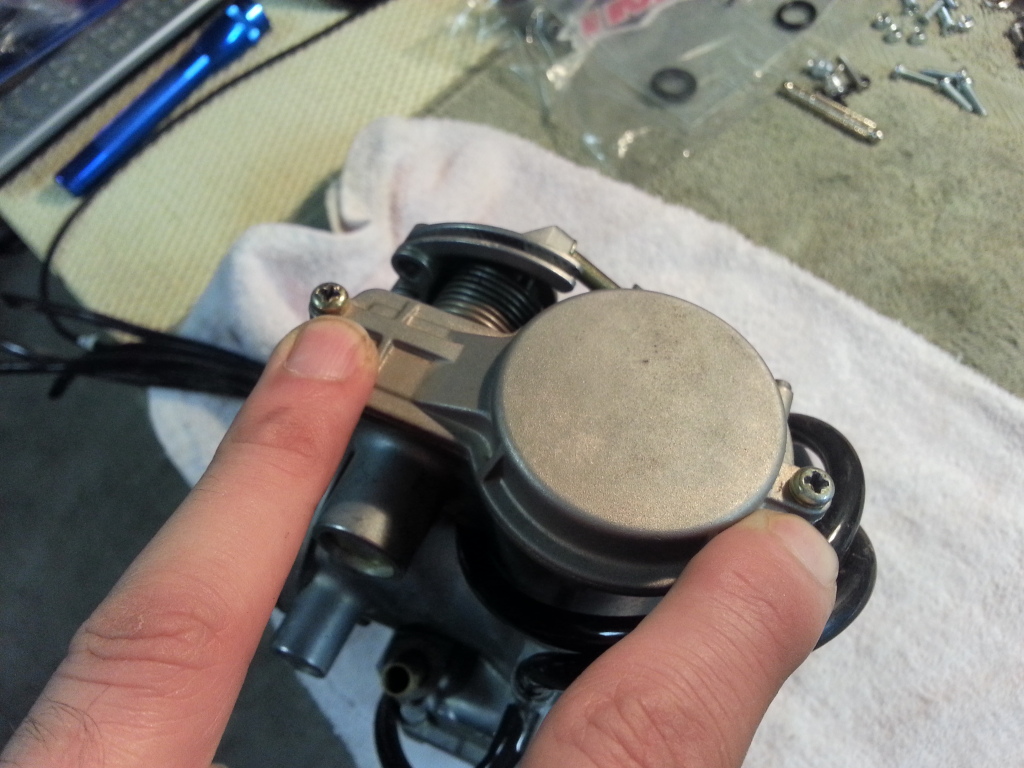
Turn the carb back over on its side towards the pipe and re-install the throttle cables making sure to route the one side UNDER the idle adjustment screw. Once the cables are installed on the cam, stand the carb back up, fit the bracket back into place and tighten it down with the screw. Once that is done now tighten the three carb clamps.
Step-33
Be sure to route your throttle cables above the tank mounts. If you push them down below the mount when you put the tank on they can pinch/stretch and that's bad for you.
Step-34
Put all the pieces back on. Tank, shrouds, seat then kick and kick and kick and kick then swear, kick, swear, kick then swear some more when you remember the petcock is still turned to off... Fire the pig up and you are officially re-jetted.
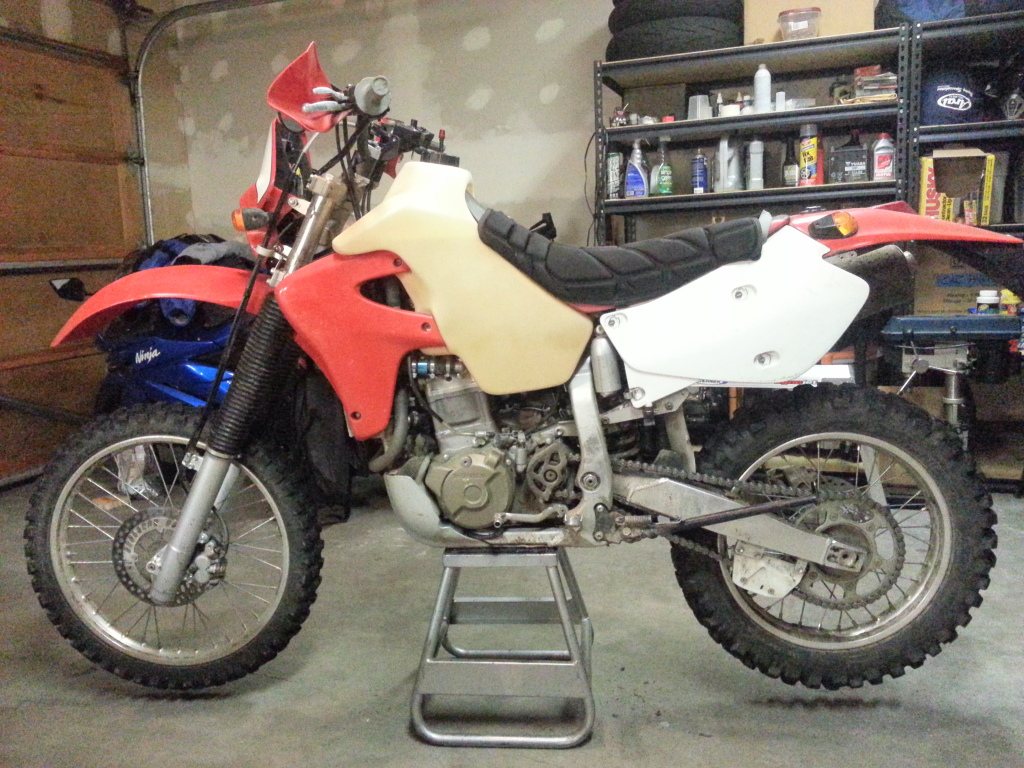
This concludes the Re-Jetting Procedure with loads of pictures. Hope that can help someone else some day. Jetting isn't very hard, just takes a lot of time if you need to do more than the main. Just the main jet is a piece of cake.
