|
Greasing Headstock Bearings |
|
The following guide is for the greasing the
headstock bearings, these are guidelines
only and if you are unsure of any part
of the procedure please consult your motorcycle
dealer. www.xr650r.co.uk cannot be held
responsible for any damage or lose from
following these instructions. |
|
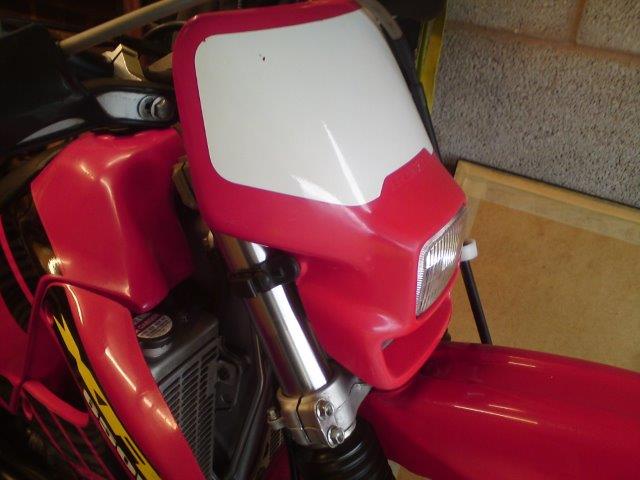
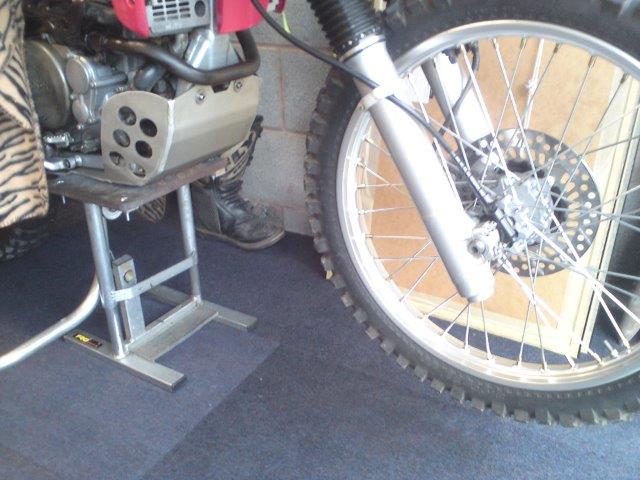
Ideally your bike
needs to be on a decent well supported centre
lift stand as the front wheel needs to be clear
of the ground to drop the bottom yoke & stem.
This is my bike shown and its fitted with the
US headlight and a digital trip computer but
these instructions should apply for any version
of headlight/Speedo etc. My bike is a 2002 model
and I don't think the bearings have ever been
touched before; was surprised to find them in
such good condition. |
|
|
 |
|
|
 |
|
|
|
Remove the headlight and disconnect the wiring
to the bulb holder. |
|
|
 |
|
|
|
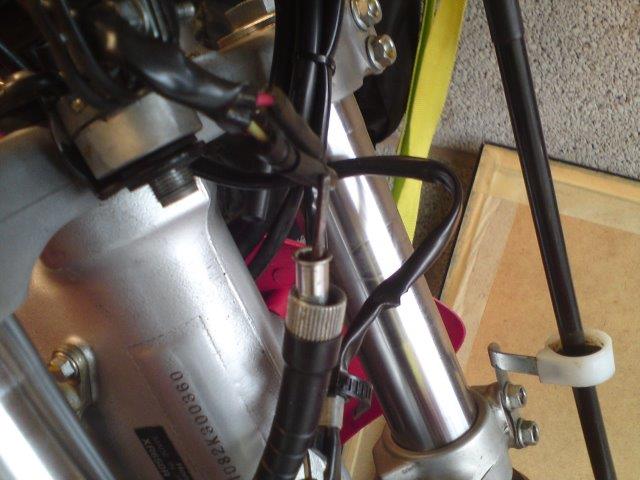
Disconnect the Speedo cable |
|
|
 |
|
|
|
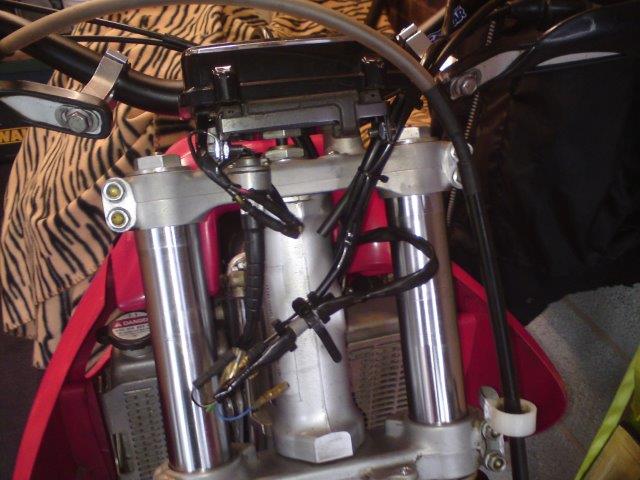
Using a 30mm
ring spanner slacken and remove the top headstock
nut (anti-clockwise) it is tight but nothing a
bit of muscle won't shift. |
|
|
 |
|
|
|
Once
slightly undone it should come undone with your
fingers.... remove the nut and washer |
|
|
 |
|
|
|
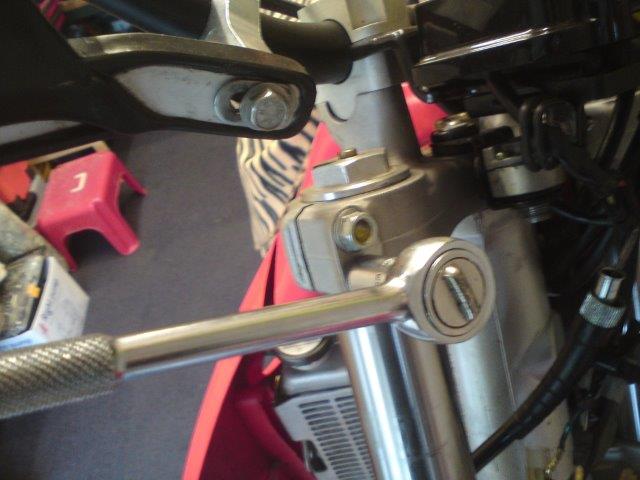
Next using a 12mm socket/spanner slacken the
top fork clamp bolts and remove 1 from each side
doesn't matter which 1 top or bottom. Don't
touch the bottom fork clamps !!! |
|
|
 |
|
|
|
Next screw the
removed bolts into the top clamp from the
opposite side; now using a couple of pieces of
steel slide these into the gap and tighten the
bolts onto them, this will press on the opposite
side and open the fork clamps very lightly so
the top clamp can be lifted off.
DON'T OVER TIGHTEN
THESE BOLTS YOU WILL BUST SOMETHING !!! |
|
|
 |
|
|
|
Now the top yoke
can be lifted away, exposing the stem nut; it
won't go far due to the cables etc but you don't
need a lot of room. |
|
|
 |
|
|
|
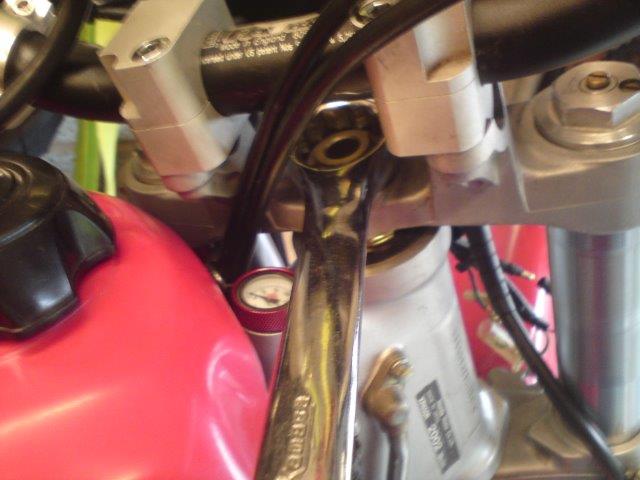
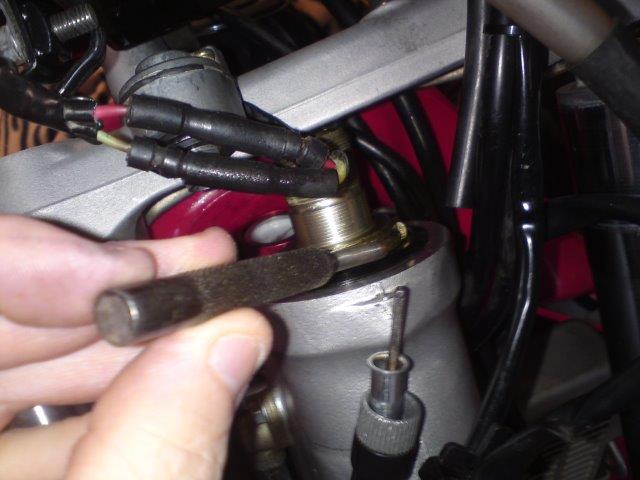
You will need either a "C" Spanner or a suitable
punch to slacken the nut (anti-clockwise) it won't be very tight
mine undid with very little effort. |
|
|
 |
|
|
|
Before removing the nut completely it's worth sticking
a block of some sort under the front wheel as
this will drop down once the nut is off its
thread. |
|
|
 |
|
|
|
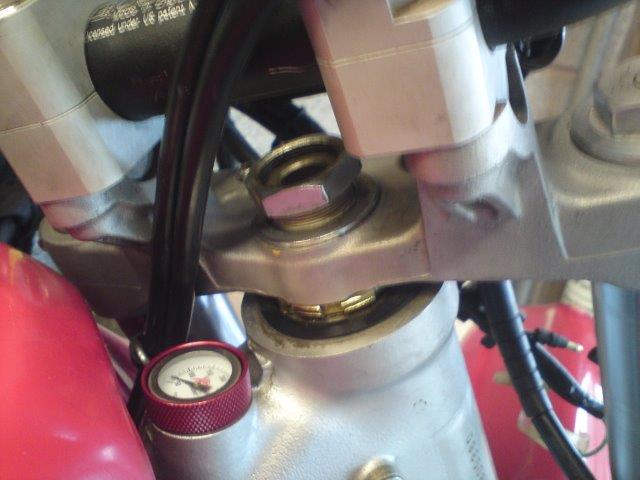
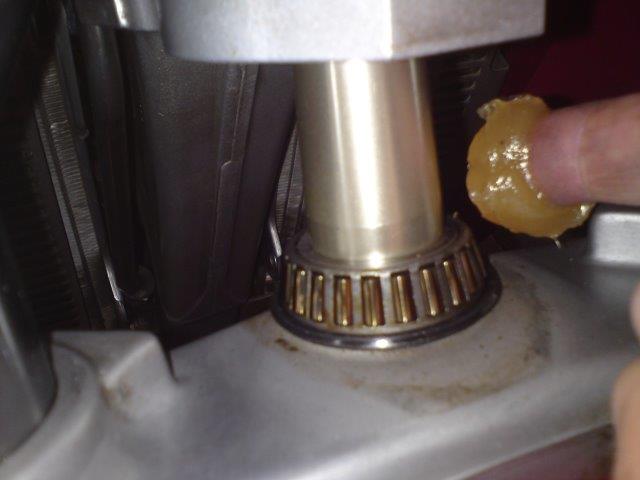
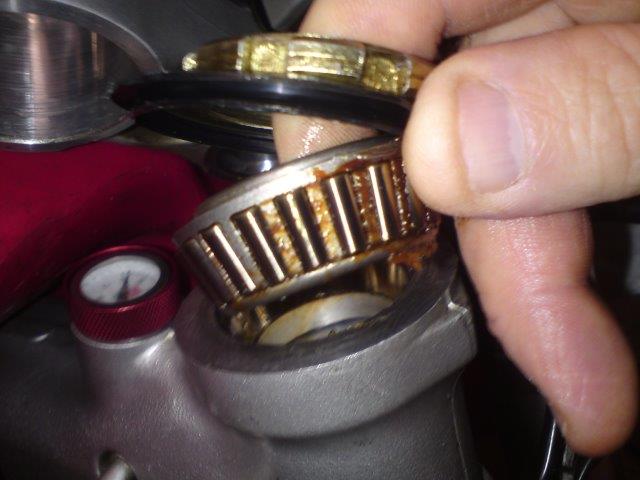
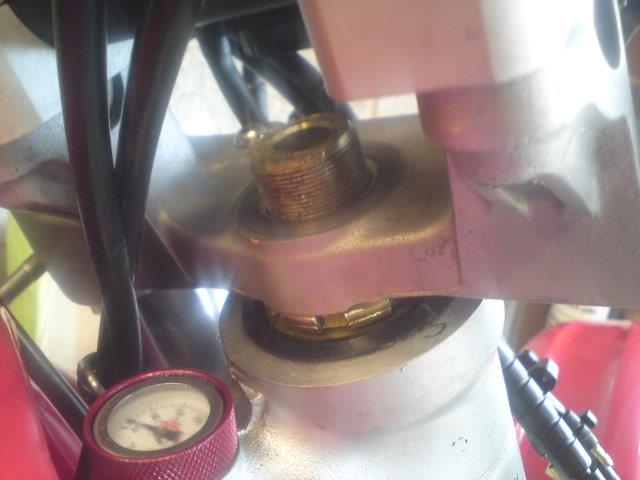
With the nut removed the headstock will simply
drop away this is why you need the block !!! You
can now see the lower bearing, you won't need
much space to re-grease and the bearing cage
will spin around so getting the rollers greased
up is a doddle. |
|
|
 |
|
|
|
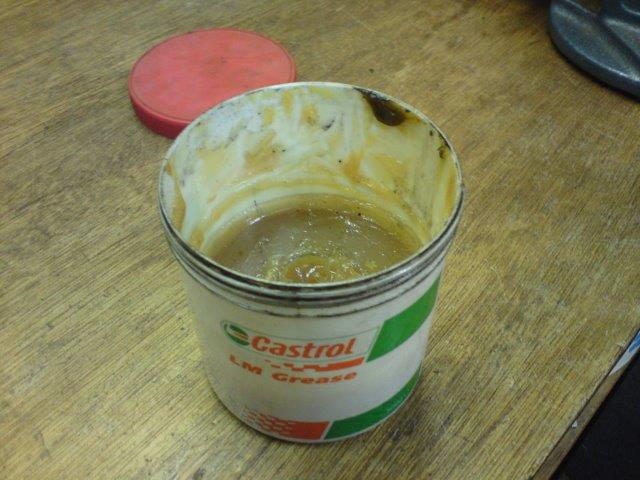
Now you can use
whatever grease you like on your bike but I am
sticking with a general purpose LM grease, some
may feel the need for water proof grease but
that's your choice...my bike doesn't get wet. |
|
|
 |
|
|
|
Applying the grease
to your finger first is the easiest way, and using
your other hand you can spin the bearing around and
let the grease rub into the rollers. |
|
|
 |
|
|
|
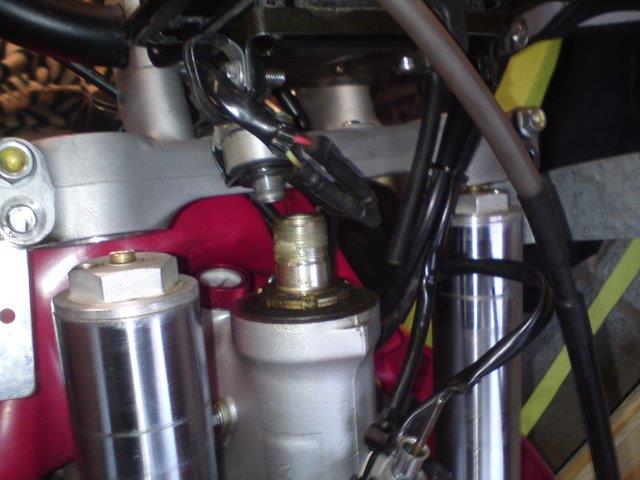
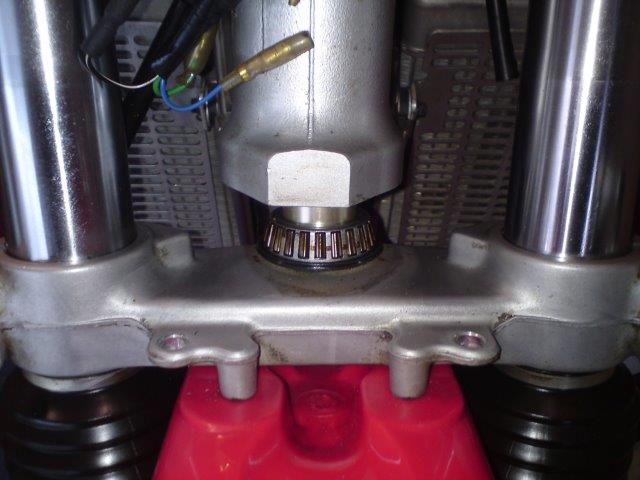
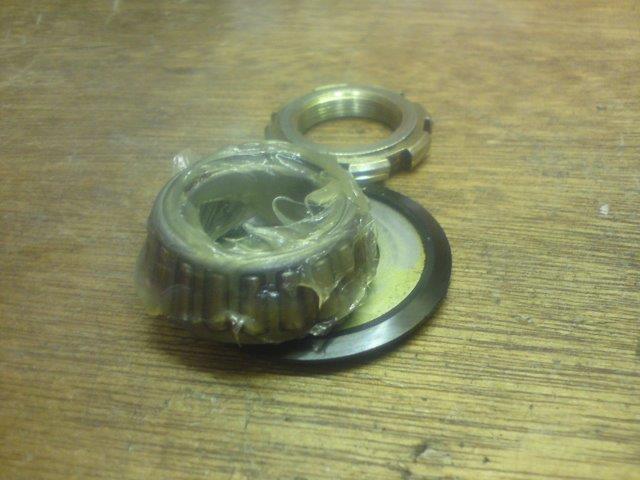
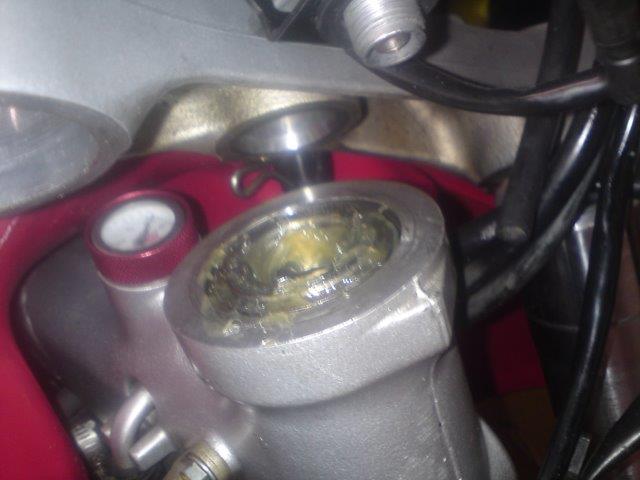
Moving to the top bearing this just lifts out as
shown, note there is a seal above the bearing. |
|
|
 |
|
|
|
With the bearing out clean the seal and then
apply your grease to the top bearing, bit messy. |
|
|
 |
|
|
|
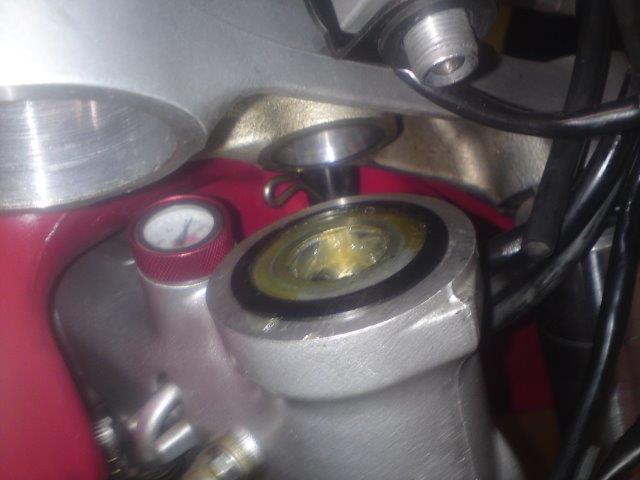
Place the freshly
greased bearing back into the top outer race;
followed by the seal. |
|
|
 |
|
|
|
Make sure the seal
sits flush with the top of the frame. |
|
|
 |
|
|
|
Tricky part and a bit hard to explain but you
need to lift front wheel assembly upwards or
carefully lower the bike downwards to engage the
stem into the top bearing without knocking the
bearing or seal out, don't worry if you do just
make sure everything is engaged fully before
putting the bottom nut on. Once your happy
everything is back as it should be screw the
bottom nut all the way home and then you will
need to tighten it with your "C" spanner or
punch, tighten down till it goes firm but keep
checking the handlebars turn freely and don't
bind or appear loose. Then once your happy you
can place the top yoke back over the stem and
put the washer on first followed by the top nut
and tighten. Remove the 2 bolts holding the top
yoke clamps apart and reverse these and
tighten don't over tighten these as you either
crack the top yoke or pull the threads out. |
|
|
 |
|
|
|
As with any bearing replacement/service they
should be checked after riding to ensure that
all is well and excessive play hasn't developed
due to the bearings settling in. |
|
|
