To install our foot pegs you will need the following: 17mm
spanner/socket ~ 2 x 12mm socket/spanner ~ 6mm
Allen Key ~ 5mm Allen Key
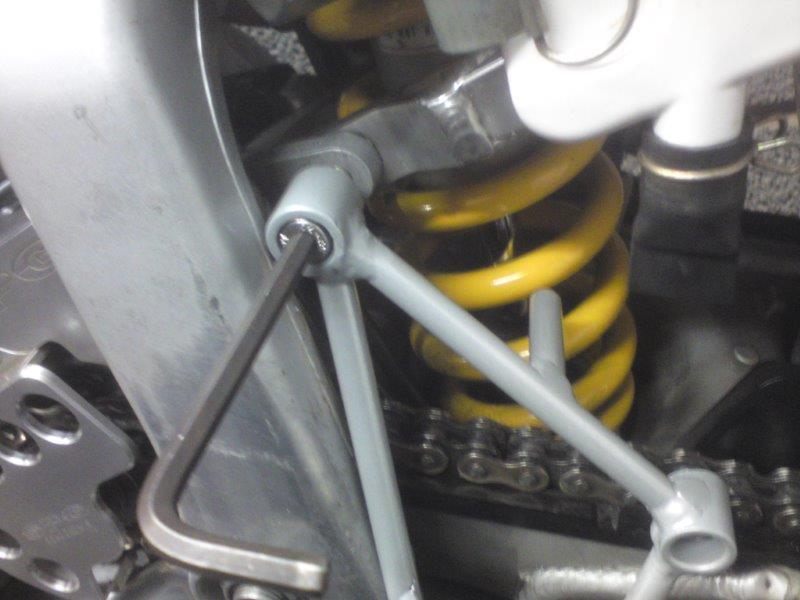
Start by making sure your bike is secure and not
going to fall over. Remove the left side panel
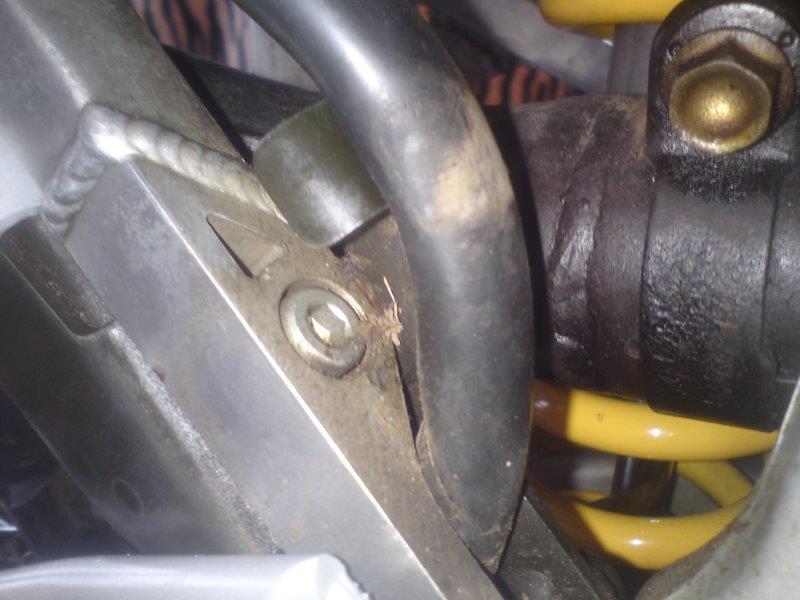
(Air Filter) cover then remove the front chain
guide bolt (6mm Allen Key) and the chain block,
please note the chain block must be installed
with the small protruding section facing towards
the rear of the bike. the opposite as shown in
the picture below; failure to do this will mean
the new pegs will not fit correctly.
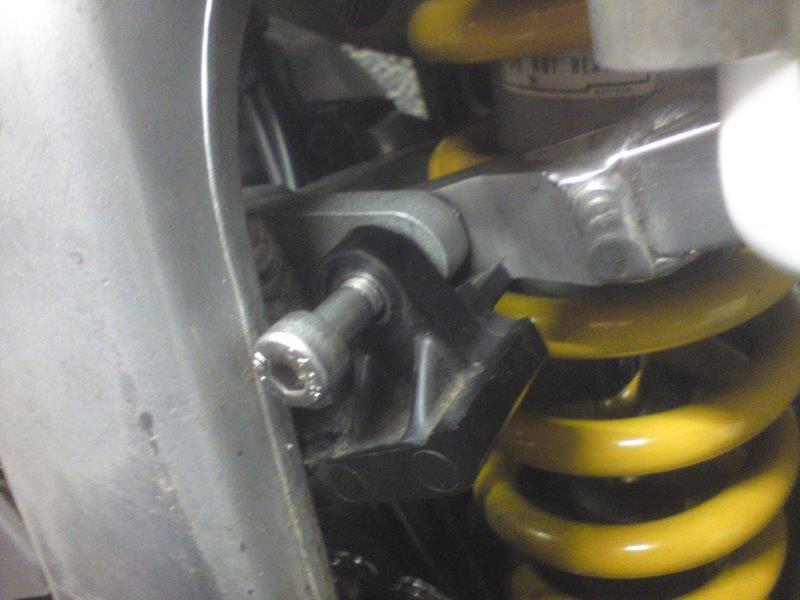
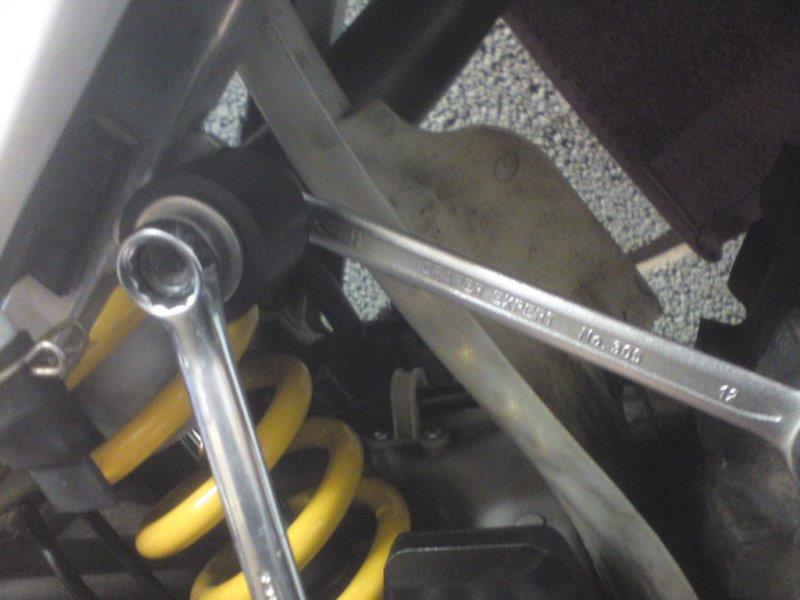
Next remove the upper chain roller bolt you will
need 2 spanners (12mm)
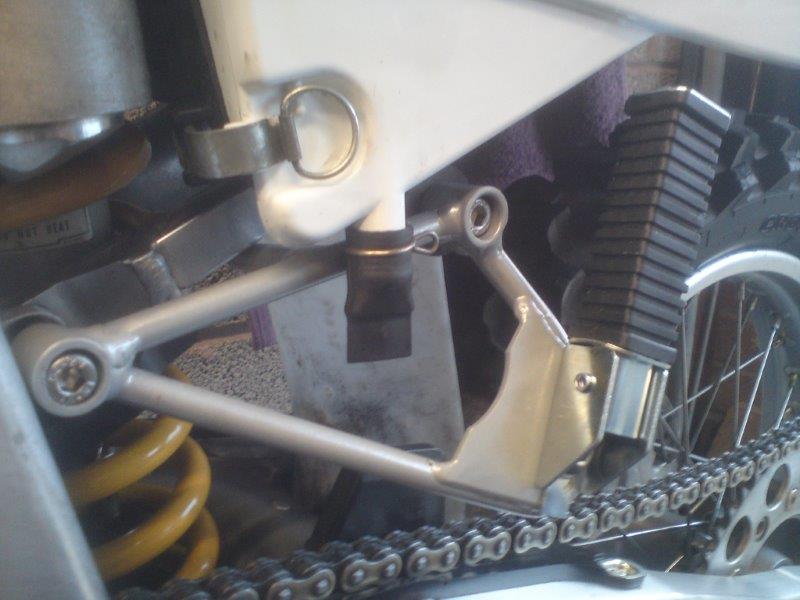
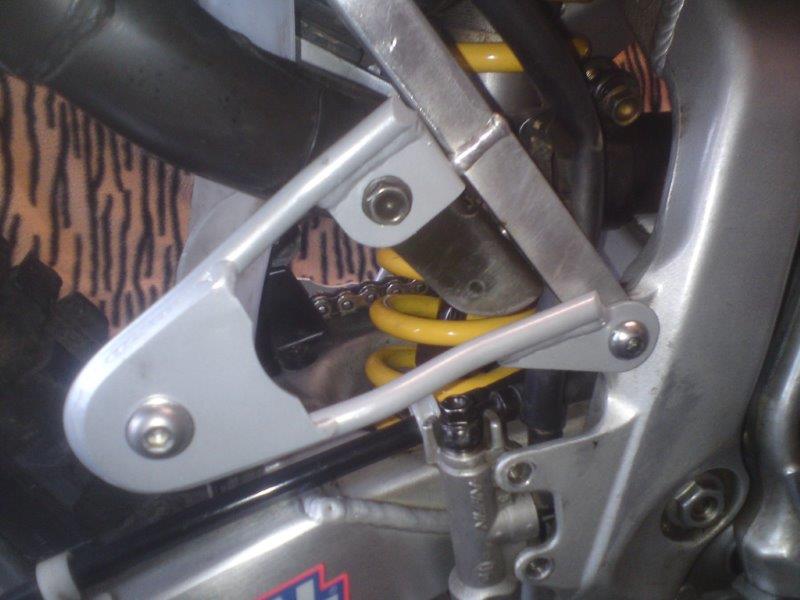
Next offer up the left foot peg and using the
bolt provided loosely screw back
through the chain guide and into the sub frame.
Swing the other end up and insert the
upper chain roller in-between the foot rest and
sub frame and insert the new bolt and
add the M8 nut to the rear, tighten both the
front and the rear bolt.
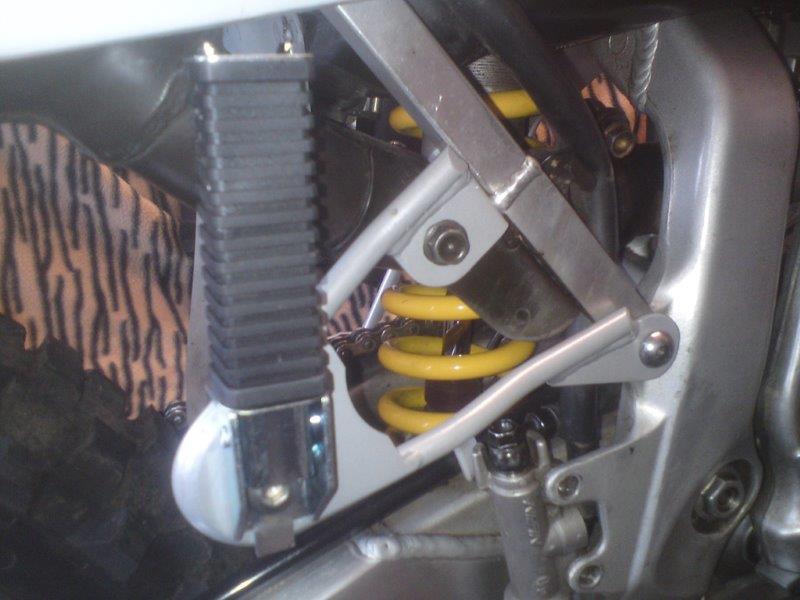
Replace the side panel and make sure all clips
are in position. Bolt the foot rest using the
supplied M10 (Note the foot peg can be angled if
required.
(Style of foot peg supplied might vary from that
shown.)
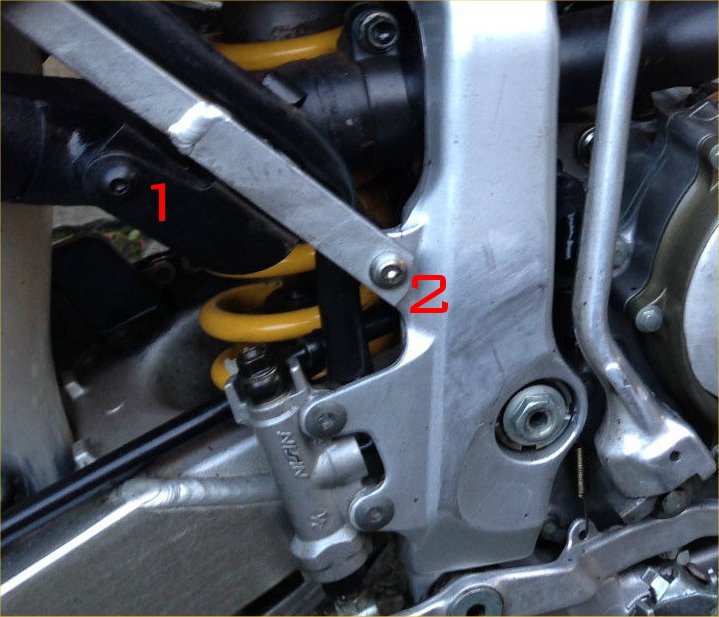
Right Side
Remove the exhaust bolt (1) 12mm and the lower sub
frame bolt (2)
Carefully remove the rear brake reservoir hose
out of it's clip and move out of the way; this
will expose a 6mm Allen Key bolt which needs to
be slackened off to allow the foot peg bracket
to be fitted.
Slide the foot peg behind the sub frame until
the bolt holes line up; replace the bolts you
took out earlier & tighten, next tighten the 6mm
Allen key bolt by the reservoir pipe.